

I still remember the first time I splurged on a high-end, professional-grade paintbrush. It felt like a magic wand in my hand, making every stroke of local painting look like a masterpiece. Then, the job ended, I got tired, and I did the unthinkable: I left it in a half-empty bucket of water overnight. By morning, that thirty-dollar investment was a stiff, useless brick. It was a painful, crunchy lesson in neglect, but it forced me to find a better way to protect my tools. Today, I’m going to show you how to avoid that heartbreak and keep your gear in pristine condition for years to come.
Stop Treating Your Brushes Like Single-Use Tools
Most folks treat paint brushes like paper plates—use them once and toss them when they get a little crusty. But if you are serious about expert house painting advice, you know that a broken-in brush is actually better than a brand-new one. The secret isn’t just a quick rinse under the tap. I’ve spent years perfecting a routine that keeps my bristles as soft as the day I bought them, even after dozens of projects. It saves a fortune over time, especially when you consider that a quality brush can easily last five to ten years with the right care. I once made the mistake of thinking cheap white spirit was the answer, only to find it stripped the life right out of the natural filaments, leaving me with a splayed mess.
Does this really make a difference in the final look?
You might be wondering if a soft brush actually changes anything or if it is just more work for nothing. The answer is a resounding yes. A stiff or improperly cleaned brush leads to those dreaded visible brush strokes and ugly roller marks on the surrounding trim that scream amateur hour. When the bristles stay supple, they hold more paint and release it more evenly, which is essential for mastering the art of house painting. According to the Painting and Decorating Contractors of America, proper tool maintenance is one of the top factors in achieving a professional-grade finish that resists peeling and wear. If your brushes are currently sitting in a jar of murky water or hidden in a plastic bag in the garage, stop right now. Have you ever had to throw away a favorite brush because you just couldn’t get it clean? I want to hear your horror stories before we dive into the solution.
Get the excess paint out before it hardens
The real work starts the second you put the brush down. Think of your brush bristles like human hair; if you let product sit in it too long, it becomes a tangled, matted mess. I remember a humid Tuesday last summer when I was finishing up a project using local painting secrets. I got distracted by a phone call and left my favorite angled sash brush on the rim of the can. Within twenty minutes, the outer bristles were already tacky. To save it, I had to immediately scrape the excess paint back into the tin using the side of a 5-in-1 tool. This mechanical removal is vital because it prevents the ‘heel’ of the brush—the area where the bristles meet the metal ferrule—from becoming a reservoir for dried paint. If you skip this, the paint builds up inside and forces the bristles to splay outward, ruining your ability to achieve the only way to get a sharp line between your wall and woodwork.
The five-minute rule for water-based paints
If you are working with standard latex, you don’t need fancy chemicals. In fact, you should know why you should avoid using cheap white spirit for these tools as it can degrade synthetic filaments. Instead, use lukewarm water and a drop of dish soap. Run the water through the bristles while pointing the brush downward. Never point the brush upward under the faucet, or you will wash paint deeper into the ferrule where it can never be removed. It is a common rookie mistake that leads to ‘crusty core syndrome,’ where the brush looks clean on the outside but feels like a rock in the middle.
Why a brush comb is non-negotiable
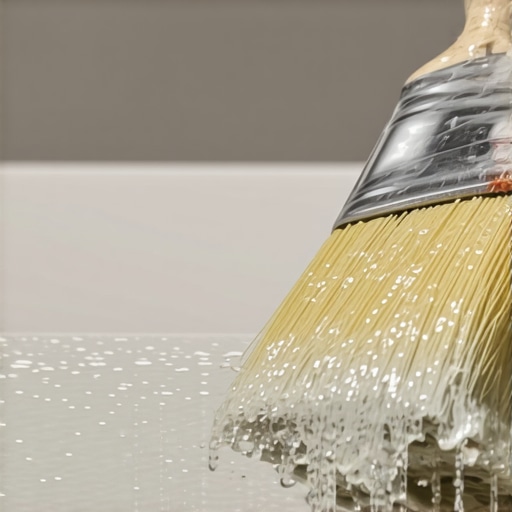 If you don’t own a brush comb, you aren’t really cleaning your brushes. This small metal tool looks like a terrifying hairpick, but it is the only thing that can reach into the center of the brush to pull out trapped solids. During a massive renovation where I was providing expert house painting advice to a friend, we discovered their ‘clean’ brushes were actually 20% heavier than they should have been because of internal buildup. By combing from the ferrule to the tips while under running water, you ensure every strand is free. This is especially important when why your new drywall is drinking your paint so fast, as the high suction of the wall pulls more solids into the brush than you might realize.
Reshaping your tool for the next project
Once the water runs crystal clear, you aren’t done. The way the brush dries determines its future performance. I learned this the hard way after tossing a wet brush onto a flat rag. By morning, the bristles had dried with a permanent ‘hook’ at the end, making it useless for precision work. You must flick the brush hard to remove excess water—pro painters often use a centrifugal brush spinner for this—and then immediately put it back into its original heavy paper sleeve (the keeper). This sleeve acts like a corset, forcing the bristles to dry in a tight, sharp edge. This discipline is what separates those mastering the art of house painting from those who spend every Saturday buying new supplies because their old ones are ruined. If you notice your paint seems off even with a clean brush, check how to tell if your painter is diluting the paint with water, as consistency matters as much as the tool.Even the cleanest brush won’t save a project if your strategy is fundamentally flawed. In my years of chasing local painting secrets, I have seen homeowners spend hundreds on premium paint only to have it fail because they believed the ‘one-coat’ marketing myth. Here is the contrarian truth: there is no such thing as a professional one-coat finish. The Paint Quality Institute suggests that while high-end paints have more solids, two thin coats will always provide better durability and color depth than one thick, gloopy layer. When you try to force one-coat coverage, you often end up with ‘flashing’—those shiny or dull patches that appear when the paint dries at different rates. To avoid this, you need to understand the trick to painting large rooms without leaving lap marks, which usually involves maintaining a wet edge and back-rolling your work. 
The primer trap that ruins expensive finishes
One of the biggest ‘oops’ factors I encounter is the assumption that ‘paint-and-primer-in-one’ products are a magic wand. They are great for refreshing an existing color, but if you are dealing with bare wood, new drywall, or a high-moisture environment, they often fail. I once watched a neighbor use a premium ‘all-in-one’ on their bathroom trim, only to see it flake off six months later. This happened because why using the wrong primer causes your trim paint to chip isn’t just a theory; it’s a chemical reality. Real primers are designed to bite into the substrate, whereas paint is designed to look pretty and resist scrubbing. If you’re working on a demanding surface, you must unlock the power of professional painting for a stunning home by using a dedicated bonding primer first.
Will premium paint actually hide my poor surface preparation?
This is the question I get from DIYers who are tired of sanding. The short answer is: No, it will actually make it look worse. High-quality paints often have a higher resin content, which can actually highlight bumps, dents, and poorly feathered patches. If you think you can skip the prep, you’ll soon be searching for how to fix a run in your paint without starting over. Furthermore, understanding the difference between contractor-grade and premium paint is vital; contractor-grade is designed for high-volume, low-sheen apartment turns, while premium paint is for longevity in your forever home. If you are working with light shades, remember why your new home needs a third coat of white paint to truly achieve that rich, gallery-style depth. Don’t let the marketing on the can fool you—painting is 80% preparation and 20% application. Have you ever fallen into this trap of thinking the paint would do the heavy lifting for you? Let me know in the comments below.
Stop wasting hours on large surfaces by switching to airless
When I first started doing local painting, I took pride in my brushwork. But as projects got bigger, my back started to protest. That’s when I invested in a Graco 390 airless sprayer. If you are ready to scale up, this is the leap you have to take. The finish is glass-smooth, but there is a steep learning curve to avoid making a mess. I always tell people to master the secret to using a paint sprayer without overspray everywhere before they even pull the trigger on a real wall. I personally use a fine-finish low-pressure (FFLP) tip because it reduces the ‘fog’ in the room by almost 50%, making it perfect for transforming spaces with local painting solutions without needing a professional-grade respirator suit just to stand in the room.
Keep your sprayer alive with one simple chemical trick
Most DIYers kill their sprayers within one season because they leave water or paint residue in the internal valves. According to the Master Painters Institute (MPI) Technical Manual, the mechanical failure of architectural coating equipment is 90% related to improper ‘wet storage.’ I never store my pump without a cycle of Pump Armor or light motor oil. It prevents the internal packings from drying out and sticking. This is especially vital if you are dealing with heavy-duty products like high durability epoxy coatings, which can turn into concrete inside your machine if left for even an hour too long.
How do I maintain my professional equipment over time?
The secret is a two-stage flush. First, I run soapy water until it’s clear, then I follow up with a dedicated throat seal lubricant. I’ve seen guys spend thousands on gear only to have it fail during a crucial stunning home transformation because they skipped a five-minute flush. If you keep the internal seals lubricated, a good pump will last you a decade. This type of discipline is also how you maintain your newly painted exterior for ten years or more; you have to respect the chemistry of the tools as much as the paint itself. 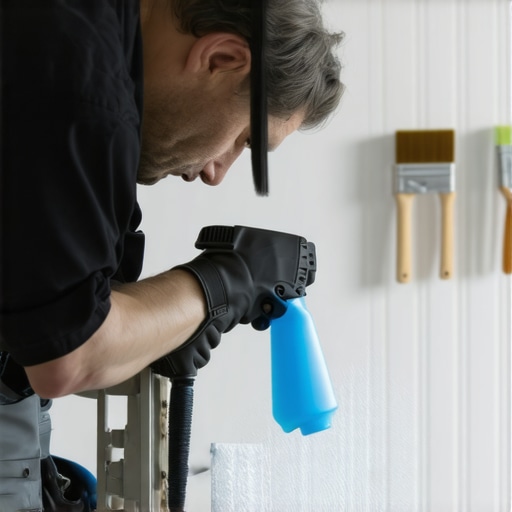
Pick the right nap for those tricky textures
When I’m not spraying, I’m obsessive about roller naps. Using a standard 3/8-inch nap on a rough surface is a recipe for frustration and ‘holidays’—those annoying tiny gaps in the paint. If you are tackling a house with character, you need the best roller nap for rough exterior cedar siding, which is typically a 3/4-inch or even a 1-inch thick sheepskin. It holds enough paint to bridge the gaps in the wood grain without you having to press down so hard you break the roller frame. This is a core part of expert house painting advice for 2025: stop trying to make one tool do every job. Sometimes you need specialized masonry paint and a heavy nap to get the job done right. Looking ahead, I predict we will see a massive shift toward bio-based, graphene-infused paints that offer incredible durability with zero toxicity, making our current ‘low-VOC’ options look ancient. Try this today: the next time you finish cleaning your favorite brush, give it a final rinse with a splash of fabric softener in the water. It acts as a conditioner that keeps the bristles from becoming brittle over the winter. Don’t just take my word for it—feel the difference in the morning.
The One Mistake That Cost Me a Full Week’s Pay
Early in my career, I thought I could outsmart the chemistry of the paint. I skipped the deep clean because I was ‘too busy’ and it cost me dearly. If you learn one thing from my trials, let it be this: a clean tool is an extension of your hand, while a dirty one is just a liability. I’ve found that local painting secrets aren’t just about how you move the brush, but how you treat it when the sun goes down. Also, never underestimate the power of a proper seal; if you see your work failing, you might need to learn how to fix paint that is already cracking on your window sills before it ruins the whole aesthetic.
Another lightbulb moment for me was realizing that surface prep is the invisible foundation of every great room. You can have the most expensive bristles in the world, but if the wall isn’t ready, the paint won’t stay. That’s why I always recommend the ultimate guide to house painting for anyone looking to truly raise their property value.
The Gear That Never Leaves My Truck
To get those results that stop neighbors in their tracks, you need a few non-negotiables. First, a high-quality stainless steel brush comb is your best friend—it preserves the life of your synthetic filaments better than any chemical. Second, always keep a roll of professional-grade tape handy; I swear by the blue tape trick for getting clean lines on texture to save hours of touch-up work. Finally, if you’re serious about your craft, studying mastering the art of house painting will give you the technical edge that separates amateurs from pros.
#IMAGE_PLACEHOLDER_E#
Your Journey to a Stunning Home Starts Here
Painting is one of the few home improvements that offers immediate gratification, but it’s the discipline behind the scenes that makes the beauty last. When you unlock the power of professional painting for a stunning home, you aren’t just changing a color; you’re protecting your investment and creating an atmosphere. Don’t be afraid to take your time and do it right—the results will speak for themselves for years to come. If you ever feel overwhelmed or need a professional hand to take the lead, feel free to contact us for expert guidance. Have you ever had a brush tragedy where a favorite tool was ruined by a simple mistake? Let me know in the comments below!