

I stood there with my hands on my hips, staring at the long wall of my new master suite, feeling absolutely defeated. It was 3:00 PM on a Saturday. The afternoon sun was streaming in, highlighting every single overlap of my roller. It looked terrible. Those vertical lines—what we pros and frustrated homeowners call lap marks—were mocking me. I had just spent five hours and two gallons of expensive paint, yet the wall looked like a series of stripes rather than a seamless surface. My mistake? I thought I could paint the edges, take a coffee break, and then come back to fill in the middle. I was wrong. I did not realize that the wet edge is the golden rule of a flawless finish. Today, I am going to show you exactly how to avoid that heartache so your large living rooms and open-concept spaces look like they were handled by a high-end crew.
Stop Fighting the Wall and Start Working With It
Painting a large room is a race against the clock, whether you realize it or not. The biggest mistake I made early on—and one I see neighbors make all the time—is treating a 20-foot wall like it is a series of small, independent squares. If you let one section dry before you overlap the next, you are basically layering paint on top of paint. This creates a thicker film in those areas, which changes the sheen and leaves those nasty visible marks. You have to avoid those ugly roller marks by maintaining a continuous wet edge. It sounds technical, but it really just means you never let your roller hit a spot that has already started to set. According to the painting experts at Sherwin-Williams, lap marks are most common when you use a dry roller or work in conditions that cause the paint to dry too fast, like a drafty room.
Is a professional finish actually worth the extra effort?
You might be wondering if you should just hire someone or if the difference between contractor-grade and premium paint will solve the problem for you. Spoiler: the paint helps, but the technique is king. I have seen people use the most expensive cans on the market and still end up with a wall that looks like a barcode because they did not know how to load their roller. If you have ever felt your roller skating across the wall because you were trying to stretch that last bit of paint, you have already lost the battle. We are going to fix that. Have you ever finished a room, sat down with a glass of water, and then realized—once the light shifted—that the whole thing looked uneven? It is a gut-punch, isn’t it? Stick with me, because I am about to break down the sequencing trick that ensures you never see a lap mark again.
Cut and Roll in Real Time
The biggest logistical hurdle is timing. Most DIYers cut in the entire room—doing all the corners and edges—and then start rolling. By the time you pick up the roller, the cut-in paint is already dry. This creates a ‘picture frame’ effect that no amount of rolling will hide. When you follow local painting secrets, you learn to work in manageable sections. Cut in only one wall at a time, or even better, cut in about six feet of the top and bottom, and then immediately roll that section. This ensures the rolled paint blends into the brushed paint while both are still fluid. This is how you unlock the power of professional painting without the pro price tag.
Work in Full Height Vertical Strips
Forget the old ‘W’ pattern advice for a moment. When you are dealing with a large, flat surface, you want to work in floor-to-ceiling strips about three feet wide. Start at the top corner and roll down. Move over, reload, and roll the next strip, overlapping the previous one by about 25 percent. I remember trying to paint a massive vaulted ceiling in a friend’s living room. I was moving so fast I was sweating, but because I was working in 4×4 squares, the finish looked like a checkerboard. Once I switched to full-length passes, the marks vanished. You have to master the art of house painting by thinking in columns, not patches.

Don’t Starve the Roller
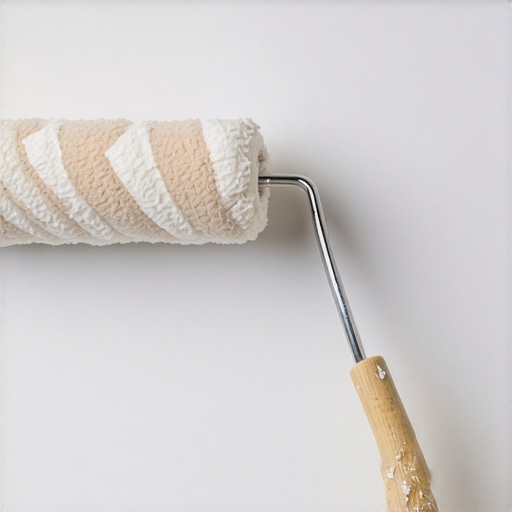
If you hear a ‘shhh’ sound like sandpaper, you are out of paint. A dry roller is the enemy of a smooth finish. You should always have enough product on the nap so that it glides. If you are forcing it, you will end up with your roller skating across the wall, which leaves a thin, splotchy layer. Always load the roller until it is saturated but not dripping. This is particularly vital if you are learning how to house painting for the first time; the paint is the lubricant for the tool.
The Pressure Trick for a Seamless Blend
Here is a nuance most people miss: the roller frame has one open side and one side with the handle arm. When you are overlapping your wet edge, apply slightly more pressure to the side of the roller that is moving into the unpainted territory. This feathers out the edge of the paint on the side you have already covered, preventing a heavy ridge from forming. I once ruined a perfectly good accent wall because I pressed too hard on both sides, creating ‘ropes’ or tiny lines of excess paint at the edge of every pass. If you do see a ridge, you need to know how to fix a run in your paint before it hardens. Just a light, vertical ‘back-roll’ over the area without reloading the roller can smooth those ridges out instantly.
Control the Room Temperature
If your paint is drying too fast for you to keep up, you might be fighting your HVAC. Turn off the AC or the heater while you are rolling. High airflow is great for drying, but it is your worst nightmare while you are trying to keep that edge wet. When I worked on a local painting project in a drafty old Victorian, I had to tape plastic over the vents just to give myself an extra five minutes of ‘open time’ with the paint. Similarly, you should use expert house painting tips to adjust your speed based on humidity; the drier the air, the faster you must move to maintain that golden wet edge.
You see, most people think that buying the most expensive ‘one-coat guarantee’ paint means they can just slap it on and walk away. In reality, the difference between contractor-grade and premium paint isn’t just about how it covers, but how it levels. I am going to go against the grain here: I actually prefer two thinner coats over one thick ‘super-paint’ coat. Why? Because a single heavy layer often traps moisture, leading to those annoying bubbles or a finish that stays soft for weeks. When you are painting your home, thickness isn’t just about hiding the old color; it is about structural integrity and a uniform sheen.
Does the humidity in the room actually change the final sheen?
Actually, yes. This is the hidden nuance that separates a DIY job from a masterpiece. According to the Painting Contractors Association (PCA), the rate of evaporation directly affects the way the resin particles coalesce during the drying process. If it dries too fast, the surface looks dull or splotchy. If it is too humid, the paint might never fully lock in. This is why your new home needs a third coat of white paint sometimes—not because of the color, but to even out the texture and sheen that was lost during a humid first pass.
Wait for the Full Cure or Risk Ruining the Texture
The biggest trap I see is the ‘just one more touch-up’ impulse. You have finished a wall, and you spot a tiny thin area. You go back with the roller five minutes later. Stop! You are about to tear the semi-dry film. This creates a texture difference that reflects light differently, making a permanent shadow. You are much better off letting it dry completely and knowing how to remove dried paint drips without sanding if you really messed up, rather than trying to fix it while it is tacky. This patience is one of those local painting secrets that professionals use to avoid costly re-dos.
I learned this the hard way on a project where I tried to fix a streak on a navy blue accent wall. By ‘fixing’ it while it was setting, I created a shiny patch that looked like a grease stain. Blue and green pigments are notoriously finicky because they use organic colorants that stay wet longer than the base. If you do not wait for the full cure, you will end up wondering why your blue walls look purple after the sun goes down due to the light refraction off that disturbed film. Have you ever fallen into the trap of over-working a semi-dry wall? Let me know in the comments. We have all been there, standing in the middle of a room with a roller and a dream, only to realize we should have just put the brush down twenty minutes ago.
Why the Five-Gallon Bucket Always Beats the Tray
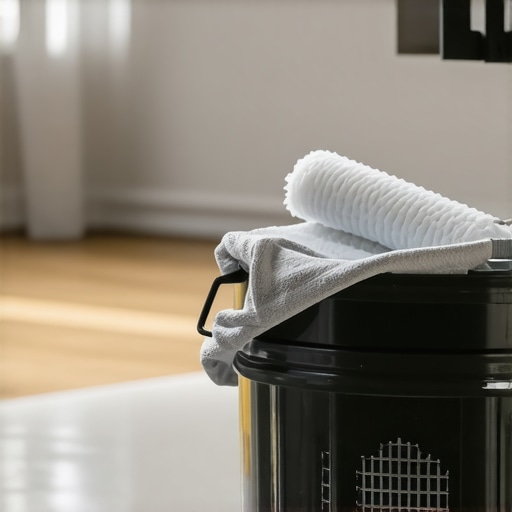
I used to be a tray guy. I thought the flat plastic liners were the height of convenience until I knocked one over on a client’s beige carpet. Now, I exclusively use a five-gallon bucket with a metal grid. This isn’t just about avoiding spills; it is about volume and consistency. When you use a bucket, you can mix multiple cans of paint together—a process called ‘boxing’—which ensures that even if there are slight color variations between cans, your wall stays uniform. It is one of those local painting secrets that makes a huge difference in large-scale projects. You also get a much more even load on your roller because the grid allows you to roll off the excess vertically back into the pot, rather than fighting a shallow pool of paint. If you want to master the art of house painting, stop using the tray and switch to a bucket and a high-quality frame like the Wooster Sherlock. This frame locks the roller cover in place, which is the only way to truly how to stop your roller from skating across the wall when you are applying that consistent pressure we talked about earlier.
Treat Your Brushes Like Fine Instruments
Once you have spent $25 on a single handcrafted brush, you will never look at a ‘throwaway’ brush the same way again. I personally swear by the Purdy XL series because the blend of Nylon and Polyester filaments holds its shape even in high humidity. However, the tool is only as good as its maintenance. You must learn how to maintain your newly painted exterior and your tools simultaneously. After a long day of the ultimate guide to house painting, the temptation to just throw the brushes in a bucket of water is real, but that is how you ruin the ferrule. According to technical documentation from the Wooster Brush Company, the internal construction of professional brushes relies on epoxy settings that can swell or crack if left submerged too long. Use a dedicated brush comb to get every bit of dried paint out of the ‘heel’ of the brush, and why you should avoid using cheap white spirit for cleaning brushes becomes obvious when you see how it strips the natural oils from the bristles, making them frizzy and useless for your next cut-in.
How do I keep my paint looking fresh for years?
Maintenance doesn’t end when the paint dries. To keep that professional sheen, you have to respect the cure time. Even if the wall feels dry to the touch, it can take up to 30 days for the latex to fully harden. This is why following the 48-hour rule for moving furniture back against new walls is critical to prevent scuffs. For long-term care, I recommend a light dusting with a microfiber cloth rather than harsh chemicals. If you are managing a larger space, you might even consider why your commercial office needs light reflective value assessments to understand how your lighting choices might actually be accelerating the fading of your pigments over time. In the near future, I expect we will see a rise in ‘smart coatings’ that actually resist dust at a molecular level, but for now, a clean microfiber and a bit of patience are your best friends.
The Future of the DIY Paint Can
I predict that within the next five years, the traditional metal paint can will be a relic. We are already seeing more brands move toward easy-pour pouches and recyclable boxes that keep the paint fresh longer by reducing air exposure. This shift will make it even easier to unlock the power of professional painting because you won’t be fighting rusty lids or dried ‘skin’ at the top of your gallon. If you really want to level up your game today, try my bucket-and-grid trick on your next room. It changes the ergonomics of the job and results in a much more consistent finish. Put down the tray and pick up a bucket; your shoulders and your walls will thank you.
What Your Local Painter Won’t Say About That Wet Edge
Over the years, I have realized that the biggest barrier to a perfect finish isn’t a lack of skill; it’s often a lack of patience. I used to think I could outrun the drying time of a standard latex, but physics always wins. One lightbulb moment for me was realizing that if I can see the reflection of my work light in the wet paint, I am moving at the right pace. If the surface looks matte while I am still in the middle of the wall, I am moving too slow. Before you even open the can, make sure you know how to estimate how much paint you actually need for a room so you don’t have to stop mid-wall to run to the store. Also, remember that your eyes play tricks on you under yellow incandescent bulbs. Always check your work with a bright, neutral LED work light to ensure you haven’t missed a spot or left a heavy ridge behind.
My Non-Negotiable Kit for a Flawless Finish
When I am gearing up for a big project, I don’t just grab whatever is on the end-cap at the big box store. I rely on the PCA (Painting Contractors Association) for industry standards because they provide the technical benchmarks for what a professional finish actually looks like. For tools, the Wooster Sherlock frame is a game-changer because it prevents the roller from slipping, which helps you master the art of house painting without the frustration of equipment failure. I also highly recommend using heavy canvas drop cloths instead of plastic; learning how to properly mask a hardwood floor before painting baseboards is just as critical as the rolling technique itself to keep the job site clean and professional.
#IMAGE_PLACEHOLDER_E#
The Satisfaction of a Wall Without Stripes
There is something incredibly therapeutic about watching a room transform from a patchy, dated mess into a sophisticated sanctuary. It is more than just aesthetics; it is about the pride you feel every time you walk past that wall and don’t see a single lap mark. Don’t be afraid to take the leap into your next project. Whether it is a small bedroom or a massive vaulted ceiling, you now have the blueprint to succeed. Investing this time into understanding why local painting matters for your home’s equity is a move you won’t regret. You are not just applying color; you are protecting your investment and creating an atmosphere. Have you ever found a hidden lap mark after the sun went down and the shadows shifted? Let me know your biggest painting hurdle in the comments below!