

I was standing in my hallway, a damp rag in one hand and a look of pure defeat on my face. I had just tried to wipe a small scuff off the wall—something every homeowner does—and instead of the mark coming off, the paint did. Right down to the drywall. I had spent two weekends saving money with a massive five-gallon pail of contractor-grade flat white, and now my walls were literally dissolving. It was a visceral lesson: not all paint is created equal, and the pro label on a cheap bucket is often a trap for the unwary. I remember the frustration of seeing every brush stroke and realizing that I was going to have to do the entire job over again. Today, I am going to save you that heartache and show you exactly why that $25 bucket is actually more expensive than the $70 one. We are going to look at solids, binders, and why your home deserves the good stuff. Have you ever finished a room only to realize the color looks blotchy the moment the sun hits it?
The Hidden Trap of the Cheap Five Gallon Bucket
When I first started DIY-ing, I made a massive mistake: I assumed that if a professional painter used a specific brand, it must be the gold standard. I bought a high-performance contractor blend for a high-traffic hallway, thinking I was being savvy. What I did not realize is that contractor-grade paint is often designed for new construction where the goal is to cover large areas quickly and cheaply for a quick sale. It is not necessarily built for the scrubbability or longevity that a busy family needs. If you are wondering how to estimate how much paint you actually need for a room, you have to account for the fact that cheaper paints usually require twice as many coats. I once had a project where why your new drywall is drinking your paint so fast became a very expensive reality because the low-quality paint lacked the proper binders to seal the surface.
Does the Contractor label actually mean better quality?
The short answer is no. In the world of paint, you get what you pay for in the form of solids. According to the Paint Quality Institute, premium paints contain a much higher percentage of pigments and binders (solids) compared to water or solvents. Premium paints often reach 35-45% solids by volume, whereas budget versions can be as low as 25%. This means when the paint dries, there is literally more protection left on your wall. If you are unsure about the state of your current walls, you can try the damp rag test for checking if your wall is too chalky before you even think about opening a new can. We also need to consider the health of your home; understanding the difference between low-voc and zero-voc paint labels is much easier when you are looking at premium lines that prioritize air quality alongside coverage. It is about more than just a pretty color; it is about building a finish that lasts.
Stop Painting Over Dust and Grit
Before you even pop the lid on that expensive can of paint, you have to realize that paint is not a glue; it is a film. If you apply it over a surface that is crumbling or dusty, the paint will simply sit on top of the debris and peel off the moment it dries. This is why I always insist on the damp rag test for checking if your wall is too chalky. If the rag comes away white, you are looking at a surface that needs a stabilizer or a deep cleaning, not a fresh coat of color. I once skipped this step in a rush to finish a rental unit, and within six months, the entire living room looked like a sunburned back—the paint was literally flaking off in sheets because it had nothing to grip. To truly master the art of house painting with these pro tips, you must accept that 70% of the work happens before the brush ever touches the wall.
Pick a Roller That Actually Works for Your Surface
Most people grab the first multi-pack of rollers they see at the hardware store. That is a massive mistake. Think of your roller nap like the tread on a tire; if you use the wrong one for the terrain, you are going to lose traction. For smooth drywall, a thin 3/8-inch nap is your best friend. If you are dealing with a textured ceiling or rough masonry, you need to jump up to a 1/2-inch or 3/4-inch nap to get the paint into the crevices. If you fail to how to choose the right roller nap for your specific wall, you will end up with ‘holidays’—those annoying little white gaps where the paint didn’t reach. 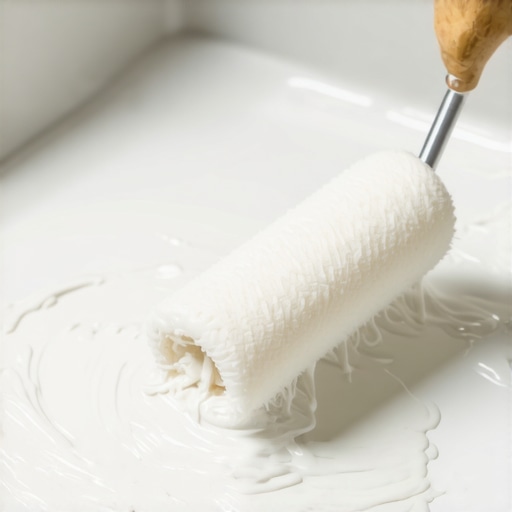
The Secret to Sharp Lines Without the Bleed
We have all been there: you spend three hours taping off the baseboards, only to pull the tape and find that the paint bled underneath anyway. It is demoralizing. The trick isn’t just the tape; it is the seal. After you apply your painter’s tape, run a damp cloth or a putty knife over the edge to burnish it down. For a truly flawless finish, some pros even apply a tiny bead of clear caulk or a quick wipe of the base color over the tape edge to ‘lock’ it. This ensures the only way to get a sharp line between your wall and woodwork is through mechanical precision, not just luck.
Avoid Those Ugly Roller Marks Forever
I remember painting my first guest room with a cheap roller and budget paint. I was so proud until the morning light hit. It looked like a topographic map of a desert. The roller was ‘skating’ rather than spinning, leaving thick ridges of paint everywhere. I had to sand the whole room down because I didn’t know how to avoid those ugly roller marks on your ceiling and walls by maintaining a ‘wet edge.’ Never let the edge of your paint dry before you overlap it with the next pass. Think of it like mowing a lawn; you always want to overlap your previous row slightly to ensure total coverage. Also, don’t be afraid of the primer. Often, why using the wrong primer causes your trim paint to chip is simply because the surface was too slick or too porous for the topcoat to bond effectively.
The One-Coat Wonder is a Marketing Trap
Most DIYers—and even some local painting crews looking to cut corners—will tell you that if you buy the $80-a-gallon premium stuff, you only need one coat. In my experience, that is a total myth that leads to long-term failure. A single thick coat doesn’t cure the same way two thin coats do. When you pile on paint to get coverage in one pass, you invite sagging and uneven drying. If you skip that second pass, the reason your exterior paint is bubbling just weeks after application often comes down to the internal stresses of a film that is too thick on the outside and still wet on the inside. To truly discover local painting secrets elevate your space effortlessly, you have to respect the chemistry of the drying process. Two thin coats create a laminated, durable finish that resists scuffs; one thick coat is just a recipe for a future peeling project.
Does Your Choice of Finish Actually Affect Your Energy Bill?
Let’s dig deeper into the science of color. Most people pick a shade based on a mood board, but advanced painters look at Light Reflective Value (LRV). This is a scale from 0 (black) to 100 (white) that measures how much light a color reflects. If you choose a dark navy for a sun-drenched exterior, you are essentially turning your house into a giant radiator. According to the Master Painters Institute (MPI), dark colors with low LRV can cause ‘thermal movement’ in wood and vinyl siding, leading to warped boards and cracked seals. For those seeking color your world expert house painting advice for 2025, I recommend checking the LRV on the back of the swatch. In a hot climate, a higher LRV can actually lower your cooling costs by reflecting solar energy away from the structure. 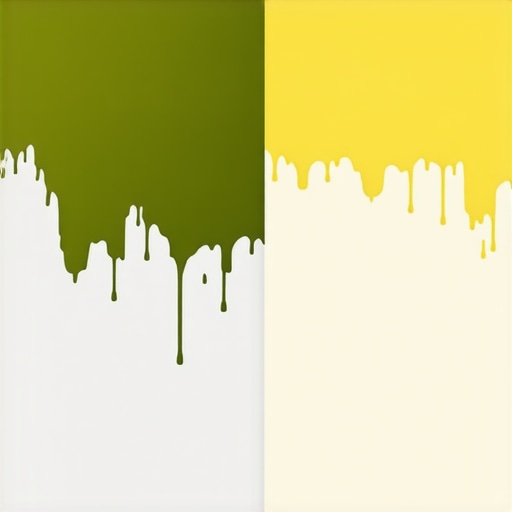
Why Dark Colors Might Be Cooking Your Home Siding
Another nuance that beginners miss is ‘metamerism.’ Have you ever noticed why your blue walls look purple after the sun goes down? It is not your eyes playing tricks; it is the light source. Incandescent, LED, and natural sunlight all have different spectral distributions. A color that looks like a perfect neutral gray in the store might turn into a muddy green under your living room’s warm LEDs. This is why I always insist on a 24-hour sample test before committing to an entire room. If you are working with masonry, you have to be even more careful; understanding why mineral-based paints are better for brick than standard latex is a question of breathability. Standard latex creates a plastic film that traps vapor, while mineral paints bond chemically, allowing the brick to ‘breathe’ and preventing the dreaded spalling.
The Humidity Trap You Cannot Afford to Ignore
The biggest ‘oops’ factor I see with local projects is the ‘rainy day rush.’ I have seen homeowners try to squeeze in a project when the clouds are grey because they have already moved the furniture. Don’t do it. Learning why you should never paint your kitchen cabinets during a rainy week is critical because high humidity stops the water in the paint from evaporating. Instead of a hard, durable shell, you end up with a gummy finish that will attract every piece of dust in the house. Have you ever fallen into this trap? Let me know in the comments.
Once you have navigated the minefield of humidity and color choice, you have to talk about the physical tools that separate a weekend warrior from a seasoned pro. I used to think a brush was just a stick with some hair on the end, but after wasting hours picking loose bristles out of my semi-gloss, I learned my lesson. I now swear by a 2.5-inch angled sash brush—specifically a Purdy Clearcut or a Wooster Pro. The way these brushes hold paint and release it smoothly allows you to the only way to get a sharp line between your wall and woodwork without relying entirely on tape. If you are still using the cheap plastic trays, do yourself a favor and get a Handy Paint Pail with the magnetic brush holder. It sounds like a small detail, but being able to clip your brush out of the liquid while you move the ladder prevents those accidental drips that lead to you frantically wondering how to clean paint off a carpet before it dries. I also always employ the rubber band trick for keeping paint cans mess-free; stretching a band across the open can gives you a perfect edge to wipe your brush without filling the rim with gunk that eventually prevents the lid from sealing.
How do I keep my paint looking fresh for the next decade?
Maintenance is the part of house painting that everyone ignores until it is too late. You cannot just walk away and expect the sun and rain to play nice. To truly how to maintain your newly painted exterior for ten years or more, you need to perform a ‘soft wash’ every spring. This isn’t about blasting the siding with high pressure—in fact, you should know the danger of pressure washing wood siding before house painting or cleaning, as it can force water deep into the grain and cause premature peeling. Instead, use a gentle solution of water and mild detergent to remove the atmospheric salts and dirt that eat away at the binders. The Society for Protective Coatings (SSPC) emphasizes in their technical standards that surface cleanliness is the single most important factor in coating longevity. If you spot a small crack in the caulk, fix it immediately. Letting water get behind the paint film is the reason your exterior paint is bubbling just weeks after application or years down the road. 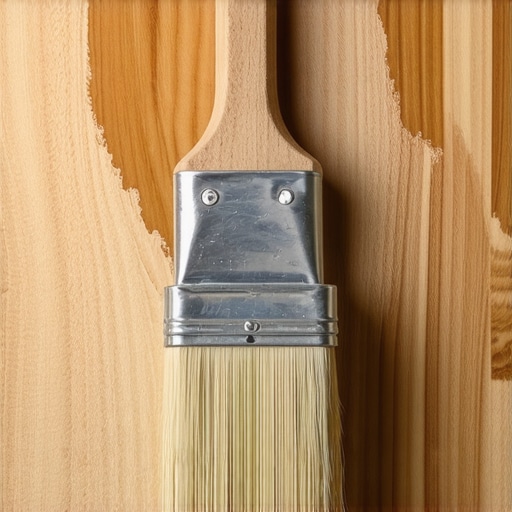
The Future of Smart and Sustainable Pigments
As we look toward 2025 and beyond, the industry is shifting toward ‘functional’ coatings. We are moving past just aesthetic choices and into paints that actually work for your home. I am seeing a massive rise in heat-reflective pigments that can lower the surface temperature of your siding by up to 20 degrees, which is a game-changer for homeowners who want to transform your home with expert house painting tips for 2025 while reducing energy bills. We are also seeing the refinement of graphene-infused paints that provide incredible durability with just a single thin layer. This technology is going to make it much easier to unlock the power of professional painting for a stunning home that stays stunning for twice as long as traditional latex. My advice? Don’t just settle for what is on the shelf at the big-box store. Ask your local painting secrets elevate your space effortlessly specialist about the latest ceramic-bead or IR-reflective technologies available in your area. This week, I challenge you to try the ‘burnishing’ technique on your next trim project: after applying your tape, use a slightly damp cloth to firmly press the edge down before you paint. It is the one pro secret that ensures you never have to deal with jagged lines again.
Three Surprising Realities of Living in a Freshly Painted Room
Over the years, I’ve realized that the ‘dry time’ on the back of the can is often a suggestion, not a law. One of my biggest lightbulb moments was realizing that curing is fundamentally different from drying. You might be able to touch the wall in an hour, but if you hang a heavy mirror or lean a couch against it too soon, you’ll learn about the 48-hour rule for moving furniture back against new walls the hard way. Another lesson? The ceiling is always more work than you think, but it provides 80% of the room’s perceived brightness. Finally, never judge a color until the second coat is fully dry; the first coat is merely a conversation between the wall and the pigment. To truly unlock the power of professional painting for a stunning home, you have to respect the chemistry of the curing process.
The Gear I Trust to Get the Job Done Right
I don’t believe in buying ‘disposable’ tools. If you want to master the art of house painting with these pro tips, start by investing in a high-quality 2.5-inch angled sash brush. My personal go-to is the Purdy Clearcut Series—it holds its shape and makes cutting-in feel like therapy rather than a chore. I also never start a project without using the rubber band trick for keeping paint cans mess-free, which saves hours of cleanup. For those looking for long-term value, I always suggest checking out the ultimate guide to house painting boost curb appeal as a reference for exterior surface preparation. These tools and resources aren’t just about speed; they are about achieving a finish that doesn’t look like a weekend DIY accident.
Make Your Home Your Favorite Place to Be
Painting is one of the few home improvements where you can see a massive transformation in just a single weekend. It’s not just about the property value; it’s about how you feel when you walk through the door after a long day. Don’t be afraid to experiment with bold choices or sophisticated neutrals that speak to your style. Whether you are looking for transforming spaces local painting solutions for every budget or doing the heavy lifting yourself, the goal is a home that reflects your personality. Take that first step, buy the sample pot, and see where the color takes you. Your journey into the world of house painting is an investment in your daily happiness. Have you ever picked a paint color that looked completely different on the wall than it did on the swatch? Let me know your experience in the comments below!