

I still remember the smell of damp cedar and the satisfying “whoosh” of my brand-new pressure washer as I fired it up on a sunny Saturday morning. I thought I was being efficient. I thought I was a pro. But as the water blasted away the gray oxidation, I noticed something horrifying: the wood started looking fuzzy, almost like it was growing a beard. I hadn’t just cleaned the deck; I had obliterated the surface fibers of the wood, creating deep gouges that no amount of sanding could easily fix. It was a rookie mistake that cost me a week of back-breaking labor to correct. If you’re thinking about “blasting” your way to a clean surface before your next house painting or staining project, please, take a breath and put the wand down. I’m going to save you from the same heartache I felt while staring at my ruined boards. [IMAGE_PLACEHOLDER]
Put Down the Power Wand Before You Regret It
The allure of the pressure washer is undeniable. It’s fast, it’s satisfying, and it feels like you’re actually doing something. But here is the cold, hard truth: most residential pressure washers can exert upwards of 3,000 PSI, which is more than enough to crush the cell structure of softwoods like cedar and pine. When you destroy those cells, you aren’t just making the deck look “fuzzy”; you are ensuring that your next coat of finish won’t stick. In fact, many cases where new deck stain peels only months later can be traced back to over-aggressive cleaning. According to the USDA Forest Products Laboratory, excessive water pressure can actually drive moisture deep into the wood grain, leading to internal rot and long-term structural failure that you won’t see until it’s too late.
Is the light setting actually safe for my deck?
I hear this all the time from my neighbors. “But I’ll just use the wide fan tip!” Look, even a wide tip in the wrong hands can leave “lap marks”—those permanent zig-zag scars in the wood that show up the second you apply a semi-transparent stain. I learned this the hard way when I tried to prevent my deck stain from looking splotchy but ended up with a surface that looked like a topographical map. It’s not just about the pressure; it’s about the water volume. Soaking the wood like that can cause the boards to cup and warp as they dry out unevenly. Have you ever tried to fix a splintered board after a “quick wash” and realized you’ve just doubled your workload? Today, we are going to walk through the gentle, chemical-based alternatives that actually work without ruining your curb appeal. We will talk about how to prep the wood so your stain actually soaks in instead of sitting on top like a layer of plastic. It’s time to work smarter, not harder, and keep that pressure washer for the concrete driveway where it belongs.
Soak the Boards with a Quality Cleaner First
To get results that actually last, we have to treat wood more like skin and less like concrete. You wouldn’t use a sandblaster to wash your face, and your deck deserves the same respect. The “soft wash” method uses chemistry instead of brute force to lift the silver-gray oxidation and ground-in dirt. I typically start with a sodium percarbonate-based cleaner. It’s essentially “oxygen bleach” and is far safer for your surrounding plants than traditional chlorine bleach. Think of it as a deep-pore cleanser for your lumber. If you bypass this and go straight to staining, you’ll find out why your new deck stain didn’t soak into the wood—because the pores are still clogged with dead wood fibers and environmental film. 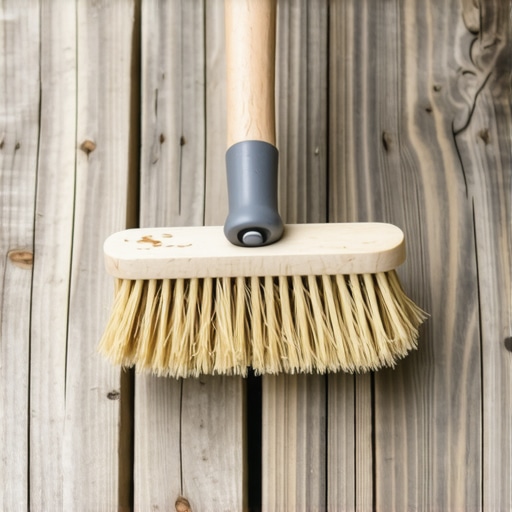
Grab a Stiff Brush and Find Your Rhythm
Once the cleaner has sat for about 15 to 20 minutes (keep it wet!), it’s time for the manual work. You need a stiff-bristled brush on a long pole. Avoid metal bristles at all costs; they will tear the wood to shreds and leave tiny bits of metal that will rust and cause black spots later. Last summer, I was helping a friend prep a sprawling cedar porch. We ditched the power washer and spent two hours just rhythmically scrubbing with the grain. It felt tedious until we rinsed the first section. The wood didn’t just look clean; it looked rejuvenated. By using a brush, you are physically agitating the surface just enough to remove the “fuzz” without creating the deep gouges common in the danger of pressure washing wood siding before house painting. This mechanical action ensures that when you eventually pick up a brush for the finish, the surface is uniform and ready to bond.
The Brightener is Your Secret Weapon for Depth
Most people stop after the cleaning phase, but that’s a mistake that leaves the wood looking flat. Cleaning products are often alkaline, which leaves the wood looking dark or “tanned.” To fix this, you need a citric or oxalic acid brightener. This step is like hitting the “reset” button on the wood’s pH balance. I remember the first time I used a brightener on a dull pine fence. The moment the acid hit the wet wood, the gray shadows vanished and the rich, golden tones returned instantly. This isn’t just for aesthetics; it opens the wood cells to accept the stain deeply and evenly. This is the single best way to how to prevent your deck stain from looking splotchy and uneven later on.
Let it Dry Until the Moisture is Gone
Patience is the hardest part of mastering the art of house painting and outdoor staining. You must wait at least 48 hours of dry weather before applying any finish. If you rush and trap moisture inside the wood, the sun will draw that water out, pushing your expensive stain right off the surface. I’ve seen beautiful jobs fail in weeks because the homeowner was too impatient to let the wood “breathe.” Before you even think about opening a can of stain, do the “water drop test” to ensure the wood is thirsty enough to drink up the new coating.While you wait for that wood to dry, let’s dig deeper into the chemistry of it all. Most homeowners believe that as long as they buy the most expensive gallon on the shelf, the results will be bulletproof. I call this the ‘Premium Brand Trap.’ The truth is that the best paint in the world will fail if the substrate pH is off or if you fall for the marketing myth of the ‘one-coat wonder.’ We see it on every can at big-box stores, promising a perfect finish in half the time. However, relying on a single thick coat is the fastest way to ruin a professional look. When you pile on paint to achieve instant coverage, you are actually trapping solvents beneath a ‘skinned’ surface. This leads to poor curing and eventual peeling. According to the Painting and Decorating Contractors of America (PDCA) Standard P1, achieving a uniform dry film thickness through multiple thin applications is the only way to ensure a coating performs as engineered.
Does the weather really matter if I am using high-end acrylics?
Actually, it matters more than you might think, and not just because of rain. One mistake I see constantly—and I was definitely guilty of this in my early years—is chasing the sun around the house. It seems logical to paint the side that feels warm and dry, right? Wrong. Direct heat causes the paint to ‘flash dry,’ which prevents the resins from flowing together properly. This results in permanent brush marks and poor adhesion, which is exactly why professional painters refuse to work in direct sunlight. You always want to ‘follow the shade’ to allow the paint to level out naturally. 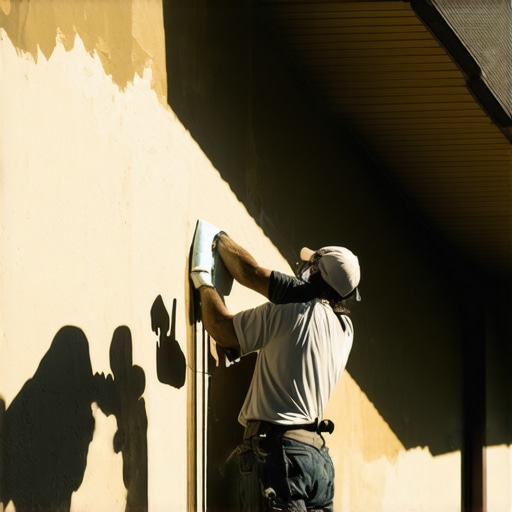 Another hidden trap is the seductive convenience of ‘all-in-one’ paint and primer. While these products are fine for a simple bedroom refresh, using them on bare wood, specialized masonry, or weathered trim is a recipe for disaster. This is why using the wrong primer causes your trim paint to chip within the first year; a dedicated primer is formulated to penetrate and ‘bite’ into the surface, whereas the topcoat is designed for aesthetics and weather resistance. They are two different tools for two different jobs. This level of detail is also why your local painting estimates vary so wildly in price. A low-ball bid usually means the contractor is skipping the pH balancing, the fine-grit sanding, or the essential dry-time windows. Mastering the art of house painting isn’t about how fast you can swing a brush; it is about the hours spent with a scraper and a moisture meter before the first can is even opened. Have you ever fallen into the trap of buying ‘one-coat’ paint only to have it fail six months later? Let me know in the comments.I used to think a brush was just a brush until I held a 2.5-inch angled sash brush made of a nylon-polyester blend. Cheap brushes hold paint like a leaky bucket, but a high-quality tool allows for the simple trick for painting a straight line freehand without needing a mountain of tape. If you are serious about innovative house painting ideas to refresh your living space, stop buying the $5 multipacks. I personally swear by the Wooster Alpha; the way it holds its shape even in high humidity is the difference between a professional finish and a streaky mess. I’ve seen homeowners wonder why your new home needs a third coat of white paint, and often it’s because their low-quality roller nap was ‘skating’ instead of releasing the pigment properly onto the surface.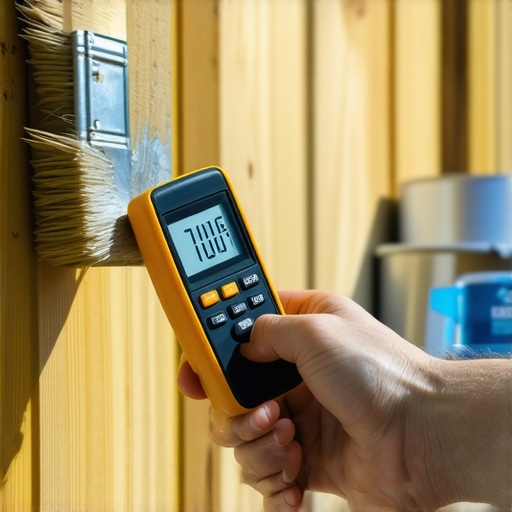
How do I maintain my home’s exterior over time?
Maintenance isn’t a one-and-done event; it’s a seasonal ritual. Every spring, I walk the perimeter with a soft-bristle brush and a bucket of mild detergent to prevent the buildup of microscopic soot and pollen that eventually eats away at the resin. If you want to know how to maintain your newly painted exterior for ten years or more, you have to treat it like a car—wash it, inspect the seals, and touch up the small chips before they turn into rot. I also use the rubber band trick for keeping paint cans mess-free during these small touch-ups. One technical detail most people miss is checking the moisture levels. According to the USDA Forest Products Laboratory’s Wood Handbook, painting wood with a moisture content above 15% is the primary cause of early adhesive failure. I never start a job without my Lignomat moisture meter; if that screen says 18%, I’m going back inside to wait for the sun.
Self-cleaning walls are the future of local painting
We are moving into an era where paint does more than just look pretty. I’m already seeing ‘cool roof’ coatings and photo-catalytic paints that actually break down smog particles when they hit the surface. In the next few years, expect to see hydrophobic ‘lotus-effect’ coatings become the standard for local painting secrets to elevate your space effortlessly. These surfaces literally shed dirt every time it rains. It might cost more upfront, but when you realize why your local painting estimates vary so wildly in price, you’ll understand that paying for these high-performance materials saves you three repaints over the life of the home. Before you start your next project, try this: grab a digital moisture meter from the hardware store and actually test your siding. It’s the single most ‘pro’ move you can make to guarantee your hard work doesn’t peel off by next winter.
Hard Truths from the Bottom of a Paint Tray
Looking back at years of house painting, the biggest lesson isn’t about technique—it’s about the ego. I used to think I could skip the prep work if I just used the most expensive paint on the market. I was wrong every single time. Here is what I know now: First, your eyes will lie to you about dryness, but a moisture meter never will. Second, if the surface feels chalky, your paint is basically trying to stick to dust; always use the damp rag test for checking if your wall is too chalky before you begin. Third, the “one-coat” promise is a marketing myth designed to sell more volume, not better results. Real protection comes from thin, layered builds that allow each coat to cure properly.
[IMAGE_PLACEHOLDER_E]
The Gear I Carry to Every Job Site
You don’t need a warehouse full of tools, but you do need the right ones. For any local painting project, I recommend three essentials. First, the Lignomat Moisture Meter; it is the only way to avoid the heartbreak of peeling. Second, the Wooster Alpha brush—its stiff-yet-flexible bristles make the simple trick for painting a straight line freehand possible for even a beginner. Finally, keep a roll of high-quality blue tape nearby and master the blue tape trick for getting clean lines on texture. These tools aren’t just conveniences; they are the boundary between a DIY look and a professional finish.
The Pride of a Perfectly Sealed Home
There is a specific kind of peace that comes from watching a summer storm roll in and seeing the rainwater bead up and roll off your freshly stained deck. That is the reward for your patience. When you take the time to unlock the power of professional painting for a stunning home, you aren’t just changing a color—you are protecting your biggest investment. Don’t let the “quick fix” allure lead you astray. Take the slow path, do the prep, and your home will thank you for the next decade. House painting is a marathon, not a sprint, and the finish line is worth every extra hour of drying time.
Have you ever had a project where the prep work felt longer than the actual painting? Let me know your biggest “prep-work” headache in the comments below!