

I remember standing in my guest bathroom three days after finishing a fresh coat of ‘Sea Salt’ blue. I looked at the walls and froze. Long, amber-colored streaks were weeping down from the ceiling, looking like the house had a secret smoking habit I didn’t know about. I panicked. I thought we had a massive pipe leak or some kind of aggressive, fast-growing fungus. It’s a visceral feeling—that sinking realization that your hard work might be ruined. If you have ever seen these sticky, honey-like drips, you aren’t alone. Whether you’re deep into mastering the art of house painting or just finished a quick weekend project, seeing those ‘weeping’ walls is enough to make anyone want to throw their rollers in the trash. But don’t worry. You didn’t break your house. Today, I’m going to show you exactly how to handle surfactant leaching so your bathroom stays as pristine as you intended. Have you walked into your bathroom recently and wondered if your walls were literally melting? Tell me I’m not the only one who had a mini-heart attack!
Those Weird Brown Streaks Aren’t What You Think
Back when I first started DIYing, I made the classic mistake of thinking I could just paint right over these drips. Big error. The reason you should never paint over peeling paint or active surface issues is that the underlying problem just gets trapped. In my case, the drips just bled right through the new layer. This phenomenon is called surfactant leaching. Essentially, the ‘ingredients’ that keep your paint mixed and stable are being forced to the surface by steam. According to the American Chemical Society, these surfactants are water-soluble, which means in a high-humidity environment like a bathroom, they can separate and ‘weep’ before the paint has fully cured. It’s frustrating, but it’s a chemistry problem, not a construction failure.
Is my bathroom actually growing mold?
This is the biggest fear I hear from neighbors. They see why your bathroom ceiling is growing mold above the shower and assume the brown drips are the start of a black mold takeover. Take a deep breath: they probably aren’t. Mold is usually fuzzy or flat and spreads in patches; these drips are glossy, sticky, and follow a distinct vertical path. If you try to clean them and they feel a bit like dried syrup, you’re dealing with surfactants. You can often fix this without the nightmare of how to remove dried paint drips without sanding the whole wall if you catch it early enough. The key is understanding that your paint just needs more time—and less steam—to settle into its permanent home.
Wash away the residue without ruining the finish
The good news is that surfactants are water-soluble. Think of them like the dust on your car after a light rain—it looks terrible, but it isn’t permanent. If you catch those amber drips early, you can usually wipe them away with a damp, soft cloth. I remember a project in a cramped condo where I panicked and started scrubbing with a heavy-duty sponge. I ended up with a patch of wall that had no sheen left and had to learn how to fix a run in your paint without starting over because I got too aggressive. Don’t do that. Use lukewarm water and a microfiber towel. Gently wipe the streaks from top to bottom. If they are stubborn, a tiny drop of mild dish soap is all you need. You aren’t trying to sand the wall; you are just rinsing away the chemicals that the humidity pulled to the surface.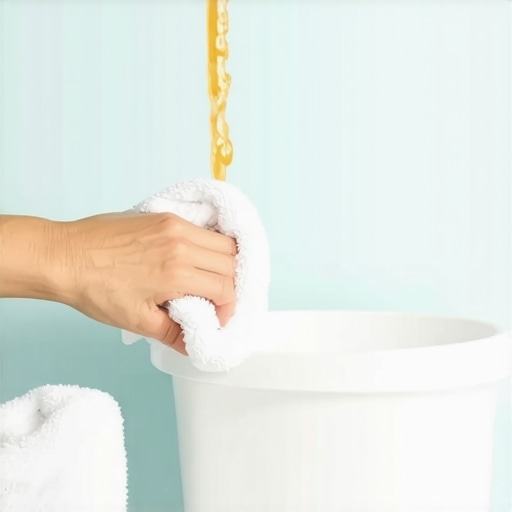
Scrubbing creates more problems than it solves
When you see those drips, your instinct is to attack them. Resist that urge. If the paint hasn’t reached its full hardness, you can actually burnish the finish, leaving a shiny or dull spot that stands out more than the drip did. If you’ve already made this mistake and have uneven patches, you might need to look into how to avoid those ugly roller marks on your ceiling when you inevitably have to apply a touch-up coat. The goal is a light touch. If the drips have dried into hard, resin-like beads, don’t pick at them with your fingernails. Keep the area moist with a damp cloth for a few minutes to soften the surfactants before wiping.
Wait for the cure before you steam up the room
The most common reason I see for ‘weeping walls’ is someone taking a hot shower just 12 hours after the last coat went on. Even if the paint feels dry to the touch, it is far from ‘cured.’ Curing is the chemical process where the paint reaches its maximum durability. In a bathroom, you need to follow a logic similar to the 48-hour rule for moving furniture back against new walls. If you can wait two full days before using the shower, do it. Use a different bathroom or take a cold sponge bath if you have to. Keeping the humidity low during those first 48 hours allows the surfactants to stay locked within the paint film rather than being sucked out by the steam.
Choose the right materials to prevent a repeat performance
If you clean the walls and the drips keep coming back, you might be fighting a losing battle against the paint quality itself. There is a massive difference between contractor-grade and premium paint when it comes to moisture resistance. Cheaper paints often have higher concentrations of these leachable surfactants.
Why the right primer stops the weep
People often skip primer in bathrooms because they think the new paint will just stick to the old. But why using the wrong primer causes your trim paint to chip applies to your walls too—improper sealing lets moisture penetrate deeper into the wall, which then pushes surfactants out as the wall ‘breathes.’ Using a high-quality, moisture-resistant primer creates a barrier that prevents this migration. I once tried to save twenty bucks on a ‘paint and primer in one’ for a basement bathroom, and three weeks later, it looked like the walls were sweating honey. I had to wash the whole room down and start over with a dedicated vapor-barrier primer.Most DIYers believe that buying the most expensive ‘bathroom-specific’ paint is a silver bullet against moisture issues. I used to think the same. But here is a contrarian reality: a $30 can of mid-grade paint applied on a properly tempered wall will outlive a $90 can of premium paint applied on a cold, damp surface. We focus so much on the chemical labels, but we ignore the physics of the room. One of the best local painting secrets I can share is that the air temperature in your bathroom doesn’t matter nearly as much as the surface temperature of your drywall. If your wall is even five degrees colder than the humid air, you’ve created a condenser that will pull surfactants to the surface before they can bond with the resin.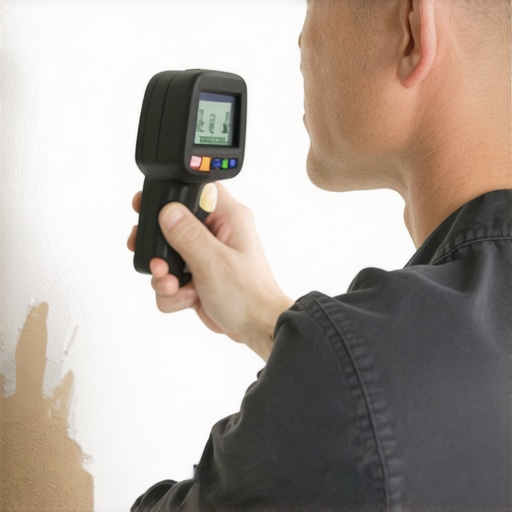
Why does my paint stay sticky even after a week?
This is a sophisticated problem often linked to ‘blocking’ and humidity. When you use low-VOC or zero-VOC paint labels, the chemical makeup is different from the old-school oils. According to technical guides from the Master Painters Institute (MPI), environmental conditions must be strictly controlled because these modern formulas are hyper-sensitive to the dew point. If the humidity is too high, the water evaporates, but the glycols and surfactants stay behind, leaving that ‘tacky’ feeling that never seems to go away. This is often why your apartment stinks or feels ‘off’ long after the project is done. To avoid this, you need more than just a fan; you need a dehumidifier to keep the moisture from interrupting the chemical cure.
Stop chasing the highest sheen
Everyone tells you to go for high gloss in the bathroom. I’m here to tell you that why high-gloss paint is a nightmare for older walls is a lesson I learned the hard way. In a room prone to surfactant leaching, a high-gloss finish makes those amber streaks look like neon signs. Instead, look for specialty ‘Kitchen and Bath’ satins. They offer the moisture resistance of a higher sheen but with a flatter profile that hides the chemical migration. If you’re looking for expert house painting advice for 2025, it is all about finding the balance between chemical durability and visual forgiveness. Have you ever fallen into this trap where your paint just won’t dry or starts weeping weeks later? Let me know in the comments.Maintaining that perfect finish requires more than just a good eye; it requires data. I never start a bathroom project now without my digital hygrometer. While we often talk about mastering the art of house painting through brush technique, the real secret is environmental control. I personally use a Govee Bluetooth hygrometer because it pings my phone if the humidity spikes above 60% during the curing phase. This is vital because, according to the ASTM D1640 standard—the industry benchmark for drying and curing—the ‘dry-to-handle’ time is drastically extended when relative humidity exceeds 50%. If you ignore this, you’re just inviting those amber drips to return before the paint has a chance to set.
Your most important tool isn’t a brush
I’ve seen so many homeowners focus on the expensive paint but ignore the $15 tool that actually saves the job. A pinless moisture meter is my go-to for ensuring the drywall isn’t hiding deep-seated dampness. If the wall is saturated, your paint will never bond correctly, regardless of quality. This is one of the most overlooked local painting secrets I can share: professional results are 10% application and 90% atmospheric management.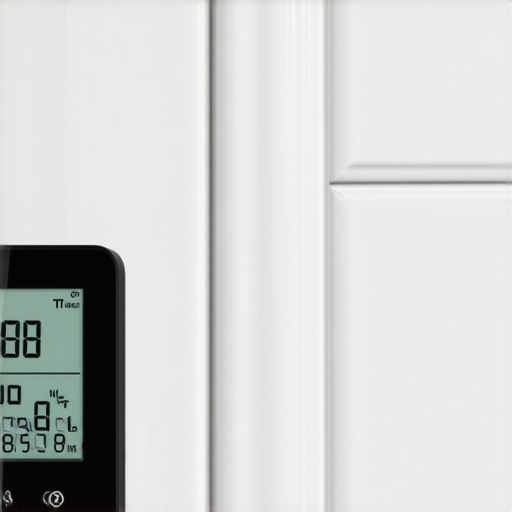
How do I keep these walls looking fresh for years?
The work doesn’t end when the tape comes off. To truly maintain your newly painted surfaces, you need a proactive cleaning schedule. Every six months, I do a ‘soft wipe.’ I use a mixture of warm water and a tiny bit of white vinegar. Why vinegar? It cuts through any lingering soap scum or aerosol hairspray without softening the paint film or leaving a residue that attracts dust. This prevents the buildup that eventually leads to staining or the need for a full repaint long before it’s due. I also swear by the ‘ventilation test.’ Most people turn their bathroom fans off the second they walk out the door. I recommend installing a humidity-sensing switch, which keeps the fan running until the air is actually dry. It’s one of those expert house painting tips for 2025 that moves the needle from DIY to professional-grade results. You stop the surfactant leaching before the moisture even has a chance to settle.
The future of house painting is getting smarter
Looking ahead, I suspect we are moving toward ‘bio-reactive’ coatings. We’re already seeing research into paints that can actually absorb and neutralize excess humidity or VOCs in real-time using smart-polymer technology. Until then, we rely on the basics: great prep, patience, and the right tools. If you’re currently staring at a bathroom that needs a refresh, grab a moisture meter first and check your drywall’s health. If you want to get that professional edge on your next room, try the ‘sharp line’ method. Check out the only way to get a sharp line between your wall and woodwork to ensure your edges look as sharp as your moisture-controlled surfaces. Don’t just paint; manage the environment.
The Hardest Truth About Those Amber Drips
Looking back at my first few failed bathroom renovations, I realized that my biggest mistake wasn’t my technique; it was my ego. I thought I could outsmart the physics of humidity. One lightbulb moment occurred when I stopped treating paint like a simple color and started treating it like a delicate chemical bond. I eventually learned that surfactant leaching is actually a sign that the paint is trying to stabilize—it just needs the right environment to do so. Another key takeaway? Patience pays higher dividends than any expensive brush ever could. If you want to truly master the art of house painting, you have to respect the chemical cure time more than the superficial dry time.
The Toolkit I Trust for a Moisture-Proof Finish
I never step into a bathroom with a roller unless I have three specific things in my bag. First, a digital hygrometer is non-negotiable; I trust the Govee Bluetooth models because they track historical data so I can see if the humidity spiked at 3 AM while the paint was vulnerable. Second, a pinless moisture meter ensures I am not painting over a substrate that is essentially a sponge. If you have ever wondered why your basement walls are damp behind the new paint, it is usually because of trapped moisture that a simple meter could have caught. Finally, a stack of clean microfiber cloths is far better than any chemical cleaner for gently removing surfactants without burnishing the finish. These local painting secrets are what separate the DIYers from the long-lasting professional results. #IMAGE_PLACEHOLDER_E#
Start Your Next Project With Total Confidence
You now have the tools and the perspective to turn a ‘weeping wall’ disaster into a minor, fixable hiccup. Successfully managing house painting in high-moisture areas is a challenge, but when you control the climate and choose chemical quality over shortcuts, the results are stunning. If you are planning a major shift in your home’s look this season, check out the latest expert house painting advice for 2025 to stay ahead of the environmental curves. Remember, your home is a sanctuary, and a little extra atmospheric preparation goes a long way. If you are dealing with tricky material transitions, learning how to successfully paint over oil-based finishes with water-based paint can save you from a world of peeling paint down the road. Have you ever seen those amber drips and thought your house was haunted? Let me know your ‘weeping wall’ horror stories in the comments below!