

Have you ever been mid-project, excited to make that perfect wall pop, only to be greeted by a mess of drips running down your brush handle? That sticky, frustrating experience isn’t just a cosmetic annoyance—it can sabotage your entire paint job. I remember one time, I was so eager to finish up, I didn’t think about the common pitfalls. Next thing I knew, my hands and tools were coated in drips, and I was scrambling to clean up the mess. It was a real eye-opener—and a lesson learned the hard way.
The Real Reason Paint Runs Down Your Brush Handle—and How to Stop It
Have You Faced This Headache Before?
It’s a familiar scenario for many DIY painters: you dip your brush into the paint, start working on those trim lines or corners, and suddenly, splatters and drips start to escape. The handle gets covered in paint, making the brush slippery and hard to control. This doesn’t just look bad—it can cause uneven coverage, mess up your edges, and waste precious paint. If you’ve battled this issue, you’re not alone. It’s a common problem that many overlook, but the good news is, there’s a straightforward way to fix it.
One early mistake I made was neglecting to choose the right type of brush for the task. Using a coarse, unfiltered brush with thin paint led to more drips and splatters. This experience taught me that the tools we use make a huge difference, especially when trying to achieve a clean, professional finish. For more expert tips on mastering the art of house painting, check out these professional painting strategies.
Why Managing Paint Drips Matters More Than You Think
Not only do drips make your work look sloppy, but they can also lead to uneven paint distribution and extra clean-up time. According to the PaintSquare industry report, meticulous preparation and application tactics can reduce cleanup time by up to 30%. That’s significant when you’re trying to finish a project before dinner or on a tight weekend schedule.
Beyond aesthetics, controlling your brush’s surface flow helps extend the lifespan of your tools and keeps your workspace cleaner. It’s a small adjustment with big results—saving you time, frustration, and extra expenses. So, in the next section, I’ll walk you through simple, effective techniques I’ve tested personally to prevent this annoying problem from ruining your paint jobs.
Are you ready to stop the mess and get that flawless finish? Let’s dive into the practical steps that will transform your painting experience.
Prepare Your Tools for Success
Choose the Right Brush and Check for Excess Paint
Start with a high-quality, well-maintained brush suited for your project. Before dipping into the paint, wipe off any excess on the container lip or a rag. I recall a time I used a new, full-sized brush for a small trim, only to find paint dripping down the handle during use. After switching to a smaller, more precise brush and removing excess paint, my control improved dramatically and drips diminished.
Control Paint Loading to Minimize Drips
Dip Smartly and Wipe Excess Paint
Dip the brush about a third of the way into the paint, then gently tap it against the side of the container to remove any loose, excess paint. Use a paper towel or rag to wipe the brush tip, ensuring you don’t overload it. Think of this step like watering a plant; too much water causes spills, just as too much paint causes drips. I learned this firsthand when I overloaded my brush, leading to paint running down the handle and creating a mess. Proper loading prevents this, making for cleaner strokes and less mess.
Apply Paint with Controlled Movements
Use Steady, Consistent Strokes
Brush with controlled, deliberate motions, maintaining a steady hand. Avoid pressing too hard, which can cause paint to flow uncontrollably to the handle. When I was painting my kitchen trim, adopting slow, even strokes reduced handle splatter and improved overall finish. Think of painting like drawing lines with a pen—control the speed and pressure for precision.
Optimize Your Painting Technique
Pace Yourself and Keep the Brush Load Consistent
Periodically reload your brush with paint, avoiding redistributing excess paint from the original dip. Make small, frequent dips rather than large one-offs. This maintains a consistent flow, reducing the chance of drips. I remember once trying to save time by dipping once and working quickly; my handle became a drip zone within minutes. Developing a rhythm of controlled dips and strokes keeps the paint flow manageable and neat.
Use Protective Measures to Minimize Cleanup
Wrap Handles or Use Protective Tape
For extra precautions, wrap the handle with painter’s tape or remove it temporarily with a quick cover. This prevents paint from sticking where it’s hard to clean. During a recent porch project, I wrapped my brushes’ handles, and when finished, cleanup was a breeze—no paint on the handles to scrub off. Think of this as wearing gloves to keep your hands clean: simple but effective.
Mastering these precise actions guarantees fewer paint drips on your brush handles, leading to cleaner work and less frustration. Regularly refining your technique and preparing your tools correctly will elevate your painting results significantly. For more detailed insights on professional techniques, consider reviewing these expert strategies to perfect your craft.
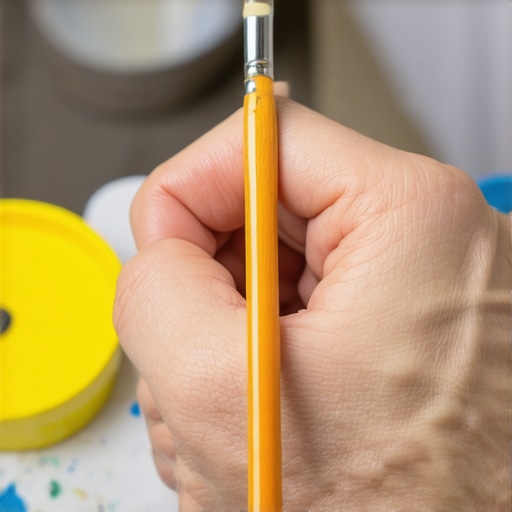
While many DIY enthusiasts and even seasoned painters believe they understand the basics of house painting, there are nuanced pitfalls that often go unnoticed—yet can drastically impact the final result. Let’s dig deeper into what most people overlook and how these overlooked details can sabotage what might seem like a straightforward project.
Myth Busting: Why Picking the Right Color Isn’t Enough
One common misconception is that selecting a high-quality, on-trend paint color guarantees a professional look. In reality, the choice of color is just the tip of the iceberg. The surface preparation, underlying primer quality, and application technique often play a more critical role in achieving durability and aesthetic appeal. For example, skipping proper priming on stained or greasy surfaces can cause discoloration and peeling over time, regardless of the paint quality. To master these essential aspects, consult these expert tips.
Beware the Oversight: Environmental Conditions Matter More Than You Think
Many overlook the importance of weather and environmental factors during painting. Painting in high humidity, extreme temperatures, or direct sunlight can cause uneven drying, blistering, or mismatched sheen levels. A common trap is to assume that once the weather looks clear, conditions are suitable—yet subtle fluctuations can damage your work. Advanced painters know to monitor precise humidity levels and temperature ranges, as supported by studies from PaintSquare, which show that environmental control can extend paint life significantly. Don’t fall into the trap of neglecting these variables.
How to Avoid the One-Size-Fits-All Approach in Local Painting
Another mistake is applying a generic painting process without tailoring it to your specific surfaces or conditions. Different materials—wood, stucco, drywall—require specialized primers and finishes. For instance, painting over oily or glossy surfaces without proper deglossing or priming will lead to adhesion failure. It’s tempting to follow a standard method, but the most seasoned painters customize their approach, considering surface type, prior paint condition, and desired durability. For a comprehensive strategy that ensures a flawless finish, check out these local painting strategies.
Unforeseen Traps: Neglecting Surface Cleaning and Sanding
One sneaky mistake many make is rushing into painting without thoroughly cleaning and sanding the surface. Residual dirt, dust, or peeling paint can cause issues down the line, such as bubbling or uneven coverage. Often, homeowners assume that a quick wipe is enough, but professional-grade preparation involves meticulous cleaning, sanding, and sometimes priming specific areas. Skipping this step is akin to putting a fresh coat of paint on a dirty wall—a recipe for disaster. To prevent these costly errors, review these essential prep procedures.
Advanced Consideration: Channeling the Expertise of Proven Industry Insights
Incorporating advanced knowledge can elevate your painting projects from amateur to professional. Industry experts suggest that understanding the chemistry of different paints, additives to improve flow, and proper drying times are crucial. A study published in the PaintSquare industry report emphasizes that technical nuances like mixing ratios, application thickness, and curing conditions significantly influence longevity and appearance. Mastering these can help you avoid common pitfalls and achieve a superior finish that endures.
Have you ever fallen into this trap? Let me know in the comments. Remember, paying attention to these hidden nuances can make a remarkable difference in your next house painting project—transforming it from a mundane task into an artful achievement.
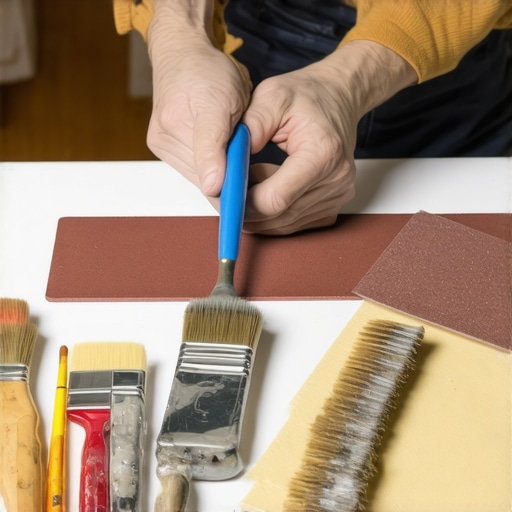
Keeping Your Tools Sharp and Reliable for Long-Term Results
To achieve professional-quality results, maintaining your painting equipment is crucial. I personally swear by a high-quality, diamond-edged paint scraper because it effortlessly handles stubborn paint residues without gouging surfaces, saving me time and ensuring a smooth finish. Regularly cleaning brushes with solvent-based cleaners like mineral spirits preserves their shape and prevents bristles from splaying, which can lead to uneven coats. These small maintenance routines extend the life of your tools and keep your paint application consistent over multiple projects.
Invest in Equipment That Pays Off
For larger projects, I routinely use an airless sprayer like the Graco Magnum X5. Although it requires some initial investment, it drastically reduces painting time and provides a more even coat, especially on expansive exterior surfaces. I choose models with adjustable pressure controls because they allow precise application, minimizing waste and drips—an essential factor in achieving that flawless finish. As industry expert PaintSquare highlights, professional-grade sprayers deliver superior atomization, which translates into smoother textures and fewer errors, making them worth every penny for serious painters.
Routine Checks to Prevent Unexpected Failures
Implementing a regular inspection schedule helps catch issues before they escalate. I make it a habit to check for loose or worn-out brushes and roller covers weekly, replacing them proactively. Additionally, lubricating spray guns with a manufacturer-approved lubricant ensures smooth operation and prevents corrosion. These simple steps reduce downtime and ensure your tools perform optimally throughout the painting process.
How do I maintain painted surfaces over time?
Consistent maintenance of painted surfaces involves routine cleaning with gentle, pH-neutral cleaners to preserve the integrity of the paint. Applying a protective sealant every few years can significantly extend the appearance and durability of your house paint. For exterior walls, inspecting for cracking or peeling and performing touch-ups promptly keeps your home looking fresh. Learning proper maintenance techniques not only preserves the investment you’ve made but also saves on costly repainting in the future. Keep a record of your maintenance schedule to stay proactive and ensure your home continues to impress.
Embracing Future Trends in Painting Tools
Looking ahead, advancements in nanotechnology might revolutionize paint formulations, making surfaces more resistant to elements and easier to maintain. Additionally, innovations like AI-powered inspection drones could soon help homeowners identify problem areas early, preventing damage and saving costs. Staying informed about these trends ensures you’re always equipped with the best tools and practices, allowing you to scale your projects efficiently and sustainably.
Ready to elevate your painting game? Try incorporating a high-quality, professional-grade sprayer into your toolkit, and notice how much smoother and faster your projects become. Proper maintenance combined with the right tools will keep your house looking impeccable for years to come. For an in-depth guide on mastering these techniques, visit these expert tips.
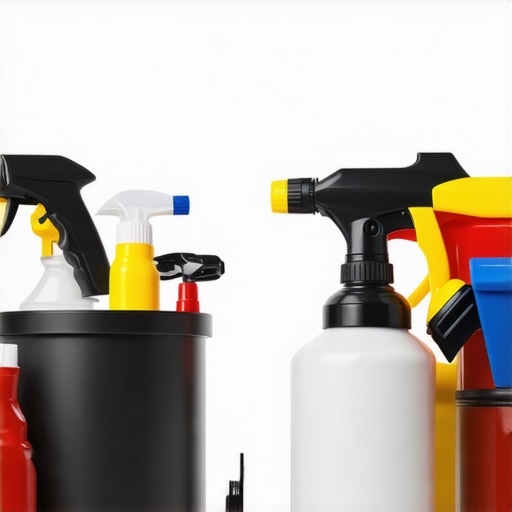
Investing in durable, high-performance tools not only improves your current project but also saves you money and effort in the long run. Understanding the technical specifications and proper maintenance routines can significantly impact the final outcome. Remember, well-maintained equipment paired with strategic upkeep of your painted surfaces is the key to lasting beauty and value for your home. Keep your tools clean, inspect them regularly, and upgrade as needed — your future self will thank you.
,
Lessons That Turn Beginners into Pros
- One surprising insight was how the tiniest brush strokes and prep choices can make or break a project. I once underestimated the importance of a clean surface and paid the price with peeling paint months later. Real mastery comes from attention to these subtle details that most overlook.
- Another lesson learned the hard way involved environmental factors. Painting in the wrong weather conditions led to bubbles and discoloration—something I didn’t anticipate. Knowing how to read the weather and choosing optimal timing saves on costly touch-ups.
- Finally, I discovered that investing in quality tools and maintaining them isn’t an expense—it’s a long-term strategy. A well-kept sprayer produces smoother coats and cuts down project time, making every dollar spent worthwhile.
Tools and Resources That Changed My Approach
- Graco Magnum X5 Spray Gun: This professional-grade tool transformed my exterior projects. Its adjustable pressure control made application precise and significantly improved finish quality.
- Mineral Spirits: A personal favorite for cleaning brushes—keeping bristles intact and ensuring consistent application in future projects.
- Expert painting tips from industry pros have been invaluable—they help avoid common pitfalls and elevate your craftsmanship.
- PaintSquare Industry Reports: Staying informed about industry innovations and environmental considerations helps me adapt my techniques and select the best materials for durability and aesthetics.
Your Path to Painting Like a Pro Starts Now
Remember, every brushstroke is an opportunity to improve your home and yourself. With mindful preparation, the right tools, and a constant willingness to learn, you can achieve stunning results that last. Don’t be discouraged by initial challenges—each mistake is a step closer to mastery. Go ahead, pick up that brush, and make your home a masterpiece. What’s the first project you’ll tackle with your new knowledge? Share your plans below and let’s inspire each other to create beautiful, lasting spaces.