

I still remember the smell of damp roses and the sound of my own frustrated sigh when I first tackled that guest bedroom back in the day. I was convinced that if I just pulled hard enough at the corner, the entire floral sheet would glide off like a dream. Instead, I ripped a chunk of the drywall’s paper facing clean off, leaving a fuzzy, brown crater that mocked my impatience. If you are staring at a wall of faded damask or 80s stripes, I know the knot in your stomach. You want a fresh start, but you’re terrified of turning a simple house painting project into a week-long skim-coating nightmare. Trust me, I’ve been there, and I’ve got the scars on my thumbs to prove it. We are going to get those walls clean without the structural damage.
Why That Old Glue Hates You and How to Win
Thirty years is a long time for adhesive to bond. Over three decades, that paste has practically fused with the gypsum. If you jump in and start hacking away, you aren’t just removing paper; you’re performing surgery on your home. Most people make the mistake of thinking brute force is the answer. I certainly did. I once spent six hours with a putty knife and a spray bottle of lukewarm water, only to realize I had caused more damage in an afternoon than a toddler with a hammer. We aren’t doing that today. We are going to use chemistry and patience to preserve your home’s value and make sure your next local painting project looks like it was done by a pro, not a frantic DIYer.
Can you really get it all off without a professional?
It’s the question that keeps every homeowner up at night before a renovation. According to experts at the Painting and Decorating Contractors of America (PDCA), improper surface preparation is the primary cause of coating failures. It’s a daunting task, but yes, it is possible. You just have to stop treating it like a race. Have you ever started a project only to realize you were in way over your head by the second hour? I’d love to hear your stories—send me a message through our contact page if you’re currently stuck. Before you even think about picking up a scraper, you need to understand how to remove traditional wallpaper without damaging the drywall by focusing on saturation, not sweat. The key is breaking down the bond without soaking the delicate gypsum board underneath.
Score the Surface to Let the Solution Sink In
The first mistake I made in my guest bedroom was trying to soak the wallpaper from the outside in. Traditional wallpaper is often coated with a layer of vinyl or thick ink that acts like a raincoat. If you spray water on it, it just beads off and hits your floor. You have to break that barrier. I use a circular scoring tool—you know, those little plastic pucks with rotating blades—to create thousands of tiny perforations. Think of it like aerating a lawn; you are creating pathways for the moisture to reach the glue. I remember a project in a 1920s bungalow where I skipped this step because I was in a rush. I ended up with dry paper and a very wet carpet. Now, I run that tool in overlapping circles until the wall feels like sandpaper. Once those holes are there, you can actually learn how to remove traditional wallpaper without damaging the drywall by letting the liquid do the heavy lifting instead of your muscles.
Choose Your Liquid Weapon Wisely
You don’t need harsh chemicals that make your eyes water. A mix of very hot water and a fabric softener or white vinegar usually does the trick. The fabric softener breaks the surface tension of the water, allowing it to penetrate the paper faster. In my early DIY days, I once used a professional-grade enzyme stripper without wearing gloves, and my hands felt like they’d been pickled for a week. Stick to the simpler stuff first. Load your solution into a garden sprayer—it’s much more efficient than a small hand bottle. Spray a three-foot section and wait. This is the hardest part. You have to wait at least fifteen minutes. If the paper doesn’t start to bubble, it isn’t ready. 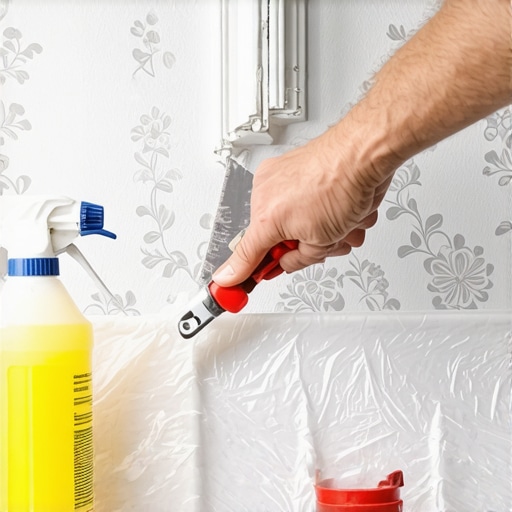
The Art of the Gentle Scrape
When it’s finally time to scrape, put down the sharp metal putty knife. That’s a one-way ticket to Gouge-town. Use a plastic scraper or a wide-blade joint knife with rounded corners. I think of it like shaving; you want a shallow angle, almost parallel to the wall. If you feel resistance, stop. Go back to the sprayer. I once spent a whole Saturday filling holes with joint compound because I was too impatient to wait for the glue to soften. If you do end up with a few fuzzy spots, don’t panic. You just need to know why your new drywall is drinking your paint so fast—it’s because that exposed gypsum core is incredibly thirsty and needs a specific sealer before you even think about house painting.
Clean the Residue or Regret It Later
Once the paper is off, the wall will feel slimy. That is the old paste, and it is your worst enemy. If you paint over it, the moisture in the new paint will reactivate the glue, causing your beautiful new color to flake off in sheets. It’s the reason you should never paint over peeling paint or leftover adhesive. Scrub the walls with a sponge and a bucket of clean water until they no longer feel tacky to the touch. This prep work is the difference between a local painting job that lasts a decade and one that fails in a month. When the wall is finally dry and smooth, you’ll be ready to choose the right roller nap and start the fun part.
Most homeowners believe that once the paper is on the floor, the battle is won. In my twenty years of local painting, I’ve seen this misconception ruin more beautiful rooms than I can count. Everyone tells you to scrub until the wall is perfectly clean, but here is a contrarian truth: you can actually scrub too much. If you keep hitting that wall with water and a sponge, you will eventually liquefy the top layer of the drywall’s paper facing. This creates ‘fuzzing’—thousands of tiny paper fibers that stand up and stay there once the wall dries. If you paint over that, your wall will look like it has a five o’clock shadow that no amount of sanding can fix. Sometimes, it’s better to stop scrubbing and start sealing.
Why Everyone Is Wrong About Scrubbing Every Inch of Glue
The standard advice is to remove every single molecule of adhesive. While that’s ideal in a laboratory, real-world house painting often involves walls that are fifty years old and fragile. According to the Painting and Decorating Contractors of America (PDCA), the goal isn’t just a clean surface, but a stable one. If the drywall is starting to pill or soften, you are compromising the substrate. The ‘Oops’ factor here is devastating: if you don’t address the invisible glue residue properly, your expensive new topcoat will eventually bubble and peel away in sheets. Have you ever fallen into this trap? Let me know in the comments. I’ve seen homeowners lose entire weekends to this specific mistake because they didn’t know the secret of encapsulation.
Can an oil-based sealer save a wall that’s already damaged?
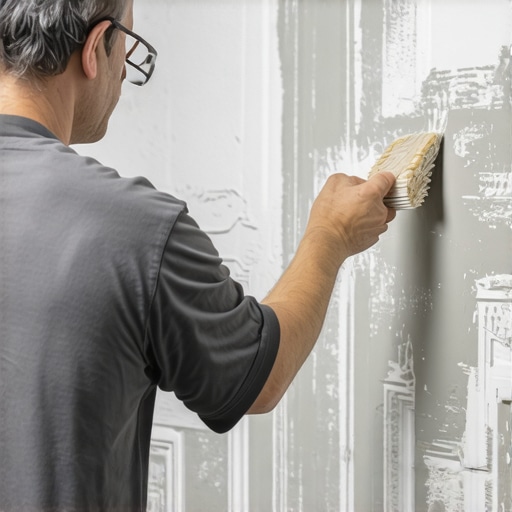
This is the question that separates the pros from the amateurs. When the wall is stripped but still feels slightly tacky or looks ‘fuzzy,’ the absolute worst thing you can do is apply a standard water-based latex primer. Why? Because the water in that primer will reactivate the old wallpaper paste, pulling it into your new paint film. Instead, you need a high-quality oil-based or shellac-based sealer to lock those contaminants down. This is where the difference between contractor-grade and premium paint and primers becomes obvious. A specialized sealer creates a vapor barrier that prevents moisture from reaching the old glue, effectively ‘freezing’ it in place so it can never ruin your finish.
Beware the Reactivation Trap Before Your First Roll
The real danger is the ‘phantom bond.’ Your wall might look and feel dry, but the moment you start house painting with a roller, the mechanical action and the moisture from the paint act like a key, unlocking that old adhesive. You’ll notice small bubbles forming as you roll. If you see this, stop immediately. It means you didn’t quite master how to remove traditional wallpaper without damaging the drywall and skipped the critical sealing step. At this stage, you must let the wall dry completely, sand down the bubbles, and apply a specialized masonry or stain-blocking sealer. This extra step is how you unlock the power of professional painting for a stunning home that doesn’t show its age.
Stop the Invisible Glue from Destroying Your New Finish
If you’re worried about why your new drywall is drinking your paint so fast, it’s often because the stripping process has left the surface incredibly porous. In these cases, even the best master the art of house painting with these pro tips won’t save you if you don’t prime correctly. You are essentially painting a sponge. Before you get excited about your new color, do the ‘damp rag test.’ Wipe a small area of the bare wall; if it turns dark and stays dark for several minutes, or if it feels slimy, you have more prep work to do. Achieving a local painting result that looks like a million dollars requires you to respect the chemistry of the wall, not just the color of the paint.
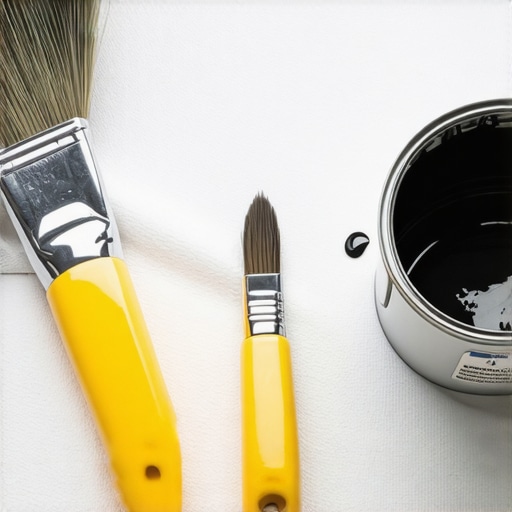
I used to think a brush was just a brush until I spent an entire week picking synthetic bristles out of a semi-gloss door. Now, I never touch a project without my Wooster Alpha. The reason is the specific micro-filament technology; it holds more paint and releases it more evenly than those cheap poly-blends that leave you with streaks. If you want to unlock the power of professional painting for a stunning home, you have to stop buying the three-pack of brushes at the checkout counter. I also swear by a high-end 17-in-1 multi-tool. I use it for everything from cleaning roller naps to setting loose nails. It’s about reducing the friction between you and a perfect finish. When I’m working on a local painting job, having a tool that can scrape, clean, and open cans saves me at least thirty minutes of hunting through my bag every single day.
Don’t Let Your Tools Become Your Enemy
Maintenance starts while the paint is still wet. One of my biggest pet peeves is seeing a DIYer leave their brushes in a bucket of water overnight. This swells the wooden handle and ruins the ferrule. I personally use a dedicated brush comb to ensure no paint stays deep in the heel. If you let that build up, your brush loses its ‘snap,’ and you’ll start seeing ugly roller marks or brush strokes on your walls. Also, why using the wrong primer causes your trim paint to chip is often linked to poor equipment cleaning—leftover residue from previous jobs can contaminate your new surface prep. Clean tools aren’t just for aesthetics; they are the foundation of master the art of house painting with these pro tips.
How do I maintain my freshly painted walls over time?
The secret is the ‘two-week cure.’ Even if the paint feels dry to the touch within an hour, most modern latex paints take up to 14 days to fully cross-link and reach their maximum hardness. During this time, don’t scrub them or lean heavy furniture against them. If you do get a scuff, use a microfiber cloth and the gentlest touch possible. I always tell my clients that knowing how to maintain your newly painted exterior for ten years or more applies to the interior too—it’s all about preventing the buildup of oils and dust that can bond to the finish. According to the Master Painters Institute (MPI) Technical Bulletin on surface integrity, the ‘Practical Coverage’ of any coating is always impacted by how the first 30 days of life are handled.
The Future of Smart Coatings and Bio-Resins
We are moving toward an era where paint does more than just look pretty. I’m already seeing a shift in the expert house painting advice for 2025 toward photocatalytic coatings—paints that actually break down indoor pollutants when exposed to light. We are also seeing a massive push for bio-based resins derived from soy or corn, which offer the durability of traditional oils without the toxic fumes. If you want to stay ahead of the curve, I strongly recommend trying one ‘smart’ coating in a small room, like a bathroom, to see how it handles moisture compared to standard latex. It’s a total game-changer for long-term air quality and durability. Don’t wait for your walls to fail before you start thinking about the next generation of house painting technology.
Hard-Won Truths from Twenty Years on the Job
Over two decades in the trade, I have realized that the biggest risks often hide in plain sight. For instance, if you are working on a home built before 1978, you must consider why some painters refuse to work with lead-based layers without proper certification; disturbing those old surfaces can be a health hazard. Another lightbulb moment for me was realizing how much environment dictates the final look. I have seen clients pick a beautiful shade only to realize that natural sunlight changes the way your gray paint looks throughout the day, making prep and sampling essential. Finally, never underestimate the power of patience after the job is done. Adhering to the 48-hour rule for moving furniture back against new walls is the only way to ensure your hard work isn’t ruined by a single scuff.
Gear That Actually Makes the Difference
I don’t believe in buying every gadget, but three things are non-negotiable for a professional result. First, always use the blue tape trick for getting clean lines on texture if your walls aren’t perfectly smooth. Second, ensure you are choosing the right roller nap for your specific wall; a nap that is too thin will leave holidays, while one that is too thick creates a heavy stipple. Lastly, understand the difference between contractor-grade and premium paint. When you are covering the aftermath of a wallpaper removal project, the superior solids and binders in a premium paint will hide imperfections that cheaper cans simply cannot mask.
#IMAGE_PLACEHOLDER_E#
Your Walls Are Ready for a New Chapter
There is a unique satisfaction in seeing a room stripped of its dated past and prepped for a vibrant future. While the process of removing traditional wallpaper is undeniably tedious, the payoff is a smooth, durable finish that fundamentally changes how you feel about your home. By taking the time to seal the substrate and clean every bit of adhesive, you are doing more than just a house painting project; you are engaging in local painting that boosts your home’s value and longevity. Don’t be afraid to take that first scrape—your dream space is hidden right under that old floral print. Have you ever encountered that stubborn, invisible glue residue after you thought the stripping was done? Let me know in the comments below!