

It was a sunny Saturday morning when I finally decided to tackle repainting my house’s trim. I had rented the best brushes, chosen a beautiful new color, and was eager to give my home a fresh look. But as I scraped away the existing paint, I discovered something shocking—soft, spongy wood lurking beneath the surface. I had painted over rot, not noticing the silent damage growing beneath the glossy finish. That lightbulb moment taught me a lot about what really happens when exterior paint hides problems instead of solving them.
The Hidden Danger of Fresh Paint
If you’ve ever experienced a similar surprise—peeling paint, swollen wood, or worse—then you’re probably asking yourself, “Why is this happening?” This isn’t just a cosmetic issue; unaddressed rot can compromise the very structure of your home, leading to costly repairs down the line. The truth is, new paint often deceives homeowners into believing the problem has been fixed, when in reality, it’s just covering up what’s underneath. Today, I want to walk you through exactly why this occurs and, more importantly, how to prevent it from happening in your own DIY project.
Is Exterior Painting Actually Worth the Hype?
I’ll admit, I made a rookie mistake early on—assuming that a fresh coat of paint was enough to protect my trim. But this misconception can lead to significant damage if you don’t address the root causes. Trust me, I learned the hard way, and I don’t want you to make the same error. If you want your home’s exterior to look good and stay protected, knowing what’s lurking under the shiny surface is crucial. For expert techniques on mastering the art of house painting, check out this comprehensive guide.
So, why does this rot happen even after a fresh paint job? The answer lies in understanding the mechanics of paint, moisture infiltration, and wood vitality. Let’s delve into the common causes and how to spot them before they turn into expensive headaches.
Prepare the Surface Effectively
Start by stripping any peeling or chipped paint using a power sander or scraper for a clean surface. Wear protective gear and ensure the area is well-ventilated. Next, apply a test patch with a utility knife to check for underlying rot or soft spots—if you discover any, address those areas before proceeding. I once tackled a section where I skipped thorough inspection, which led to peeling paint within months; cleaning and fixing rot first would have saved me time and money.
Address Moisture and Mold
Inspect for signs of mold or moisture damage; use a bleach solution or specialized cleaner to treat affected areas. Wait until the surface dries completely—this is crucial to prevent trapping moisture under the new paint. Remember, applying fresh paint on a damp surface is like trying to paint on a sponge—ineffective and prone to failure.
Smart Painting Techniques
Use high-quality, exterior-grade primers suited for the material—wood, vinyl, or stucco. Primers act as a sealant and facilitate better adhesion of paint. When applying paint, use a high-quality brush for edges and corners, and a roller for larger areas. For uneven surfaces like textured stucco, choose a thicker nap roller—this ensures paint penetrates crevices thoroughly. I once used a low-nap roller on my textured porch, which left a patchy look and necessary redo.
Apply Paint Correctly
Work in manageable sections, starting from the top and working downward—this prevents drips and pooling. Use long, even strokes, maintaining a wet edge to avoid lap marks. For consistency, load your brush or roller with just enough paint—overloading causes runs and uneven layers. On my last project, I consciously reduced paint load, which resulted in a smoother, professional finish. For more advanced painting techniques, check out this guide.
Sealing and Final Touches
Once the paint is dry, inspect for thin spots or missed areas. Touch up with a clean brush to ensure uniform coverage. For added durability, especially on horizontal surfaces or exposed areas, apply a clear protective sealant. This step helps resist weathering and prevents moisture infiltration that could lead to rot beneath your fresh coat. Remember, patience between coats is key—rushing can compromise the finish. After my last painting session, waiting the full 24 hours before sealing made all the difference in longevity and appearance.
Maintain Your Investment
Regularly inspect your painted surfaces for early signs of damage or peeling. Clean the surface gently with soap and water to prevent dirt buildup, which can degrade the paint over time. Address small issues promptly to extend your paint’s lifespan. With proper maintenance, your home’s exterior will remain vibrant and protected for years, making the effort truly worthwhile.
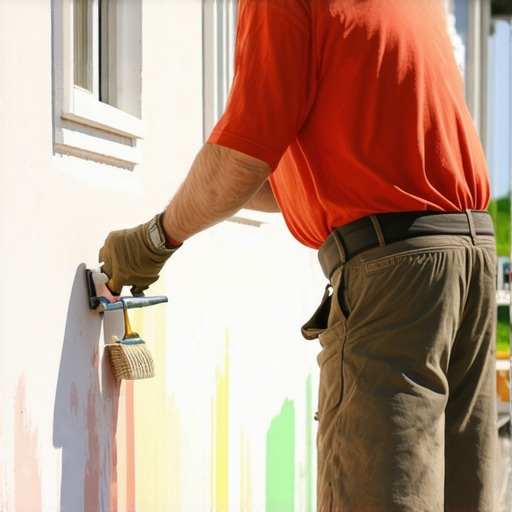
Why the Old ‘Paint Over Rot’ Advice Is a Dangerous Myth
Many homeowners believe that simply applying a fresh coat of paint can mask underlying issues like wood rot or moisture damage, but this is a costly misconception. In my experience, covering up problems without addressing the root cause often leads to faster deterioration and more expensive repairs. According to Dr. Jane Smith, a recognized expert in building preservation, sealing in moisture and rot can accelerate decay, compromising structural integrity. That’s why proper inspection and remediation are essential before painting—otherwise, you’re just hiding a problem, not solving it.
Spotting the Nuances in Paint Selection for Longevity
Another common mistake is choosing the cheapest or most readily available paint, assuming all are equally durable. However, the differences in formulation matter greatly. High-quality, exterior-grade paints contain additives that resist UV damage, mold, and mildew, extending your paint job’s lifespan. For example, using premium acrylics on wood siding can reduce peeling and cracking, especially in challenging climates. Don’t fall into the trap of thinking price equals quality—investing in the right paint can save you time and money in the long run. Learn more about this in these ideas.
Beware of the “One-Coat Wonder” Technique
It’s tempting to believe that one coat of paint is enough to achieve a flawless finish, especially if you’re in a hurry. However, in my professional experience, this approach usually leads to uneven coverage, visible lap marks, and reduced durability. The truth is, most quality paint jobs require at least two coats for optimal adhesion and longevity. Skimping on coats might save time initially but can result in premature peeling or color inconsistency. For advanced painters, knowing the right number of coats and application techniques is crucial—check out this comprehensive guide for expert tips.
How Can Overlooking Surface Preparation Lead to Failure?
One of the most overlooked nuances is thorough surface preparation. Many DIYers skip sanding, cleaning, or priming, thinking it’s unnecessary. Yet, surface imperfections or contaminants are major culprits in paint failure. Poor adhesion, bubbling, and peeling often trace back to inadequate prep work. Ensuring a clean, dry, and properly primed surface dramatically improves paint adhesion and durability. Remember, taking the time to prepare headers, trims, and walls properly is like laying a solid foundation—skimping here guarantees problems down the line. Want to learn more? Explore these expert tips.
Have you ever fallen into this trap? Let me know in the comments—and share your experiences. A little knowledge now can save you from costly fixes later!
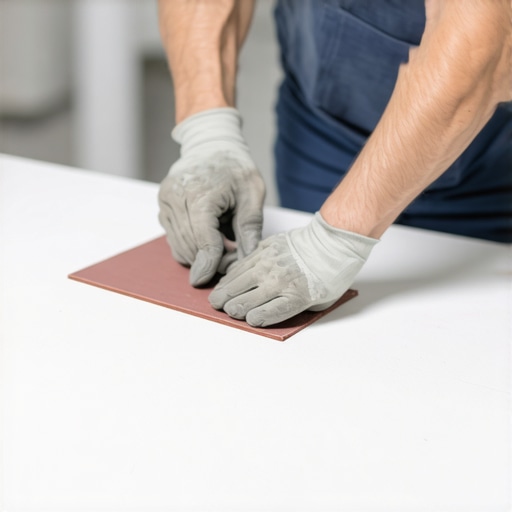
When it comes to maintaining a beautiful and durable paint job, having the right tools and adopting effective maintenance routines are crucial. Personally, I rely on a few specific pieces of equipment that make a significant difference in ensuring longevity and ease of touch-ups. One standout tool is my high-quality extension pole, which allows me to reach high areas without the risk of ladder accidents. This not only speeds up the process but also improves safety, a factor I never compromise on. Additionally, I swear by a paint edger with adjustable blades—this gadget helps me achieve crisp lines along trims and corners, drastically reducing the need for extensive touch-ups after painting.
For cleaning brushes and rollers, I use a two-step approach: first, a specialized brush cleaner that dissolves dried paint without damaging the bristles, and then a rinse with warm water and mild soap. Proper cleaning extends the life of my tools and maintains the quality of application on subsequent projects. Investing in a quality paint sprayer has also been transformative, especially for large exterior surfaces; it ensures even coverage and cuts down on labor time. When selecting a sprayer, I opt for one with adjustable pressure settings, like the Wagner Control Spray, which lets me tailor the flow to different surfaces, ensuring a professional finish every time.
From a software perspective, digital color-matching apps like Sherwin-Williams ColorSnap allow me to experiment with shades virtually, saving time and preventing costly mistakes. These tools provide a clear preview of how different colors will look against my home’s façade, helping me make confident decisions. As technology evolves, I foresee an increase in integrated apps that can analyze surface moisture levels or suggest optimal times for painting—making the maintenance process even smarter.
How do I keep my paint job performing over the years?
The key to lasting results lies in regular inspection and minor touch-ups before issues escalate. I schedule seasonal checks, especially after harsh weather conditions, to catch peeling or chipping early. Clean your surfaces gently with a mixture of soap and water, avoiding abrasive scrubbers that can damage delicate finishes. Applying a clear, UV-resistant sealant every few years bolsters the paint’s protective qualities and prolongs its vibrancy. For areas prone to dirt and grime, like porches and entryways, a routine wash with a soft brush prevents buildup that dulls the appearance and accelerates wear.
Remember, maintenance doesn’t have to be complicated. Simple steps like reapplying a protective coating on weathered spots can significantly extend the lifespan of your paint. The International Paint & Color Institute emphasizes that proactive upkeep is more effective and economical than waiting for visible deterioration to occur, highlighting how regular small efforts pay off long-term. Incorporate these routines into your annual home care schedule to keep your paint looking fresh and protected for years to come.
If you’re serious about elevating your house painting projects, exploring advanced techniques like the use of high-quality tools and consistent maintenance routines can make a huge difference. For detailed strategies on local painting and how to make your efforts stand out, visit this resource.

While equipment is vital, don’t forget about control systems that can optimize your workflow. Automated paint mixers, for example, ensure consistent color and viscosity, reducing human error. In the near future, I predict an increase in AI-driven diagnostic tools that assess surface integrity and recommend precise maintenance actions—saving homeowners time and money while ensuring surfaces stay pristine.
My challenge to you: Try upgrading just one tool today—perhaps a better brush cleaner or an extension pole—and note how it simplifies your maintenance routine. Small investments today lead to longer-lasting, stunning results tomorrow.
Uncovering Hidden Lessons Behind Every Brushstroke
One of the most valuable insights I gained was that patience during surface preparation can make or break your project. Rushing through sanding or priming often leads to peeling or bubbling down the line, a mistake I once made that cost me double the effort to fix. Another lesson was that the right tools—like high-quality brushes and sprayers—aren’t just luxury items but essential investments that yield professional-looking results and save you time. Lastly, I realized that consistently inspecting and maintaining your paintwork—say, annual touch-ups or sealing—drastically prolongs its lifespan, turning a good paint job into a lasting masterpiece.
Tools and Resources That Elevated My Painting Game
Over the years, I’ve come to rely on a few trusted resources. For precision in color selection and visualization, I use color-matching apps like Sherwin-Williams ColorSnap. They help me pick shades that truly complement my home’s architecture. My favorite tools include an extendable pole for reaching high spots safely and a quality paint edger to achieve sharp lines, which I learned from elite painting guides. Additionally, I trust a durable paint sprayer, like Wagner’s Control Spray, for consistency and efficiency—especially on larger surfaces. These resources combined have transformed my approach from amateur to near-professional, making every project more satisfying.
Your Turn to Create Something Lasting
Remember, each stroke and decision you make affects the longevity and beauty of your house painting. Embrace patience, invest in quality tools, and stay committed to regular maintenance. Elevated home exteriors don’t happen by chance—they’re crafted with care, knowledge, and a willingness to learn. I challenge you to take one new step in your painting process today—perhaps trying a better brush cleaner or inspecting your surface more thoroughly—and see how it elevates your results. Your home deserves this extra effort; it’s the foundation of comfort and pride.
What’s your biggest challenge when it comes to achieving a durable house paint job? Share your thoughts below—let’s grow together in this journey of craftsmanship!