

It happened during a bright Sunday afternoon when I finally decided to refresh my living room walls. As I stepped back to admire my work, I noticed strange patches that looked like they belonged to a different wall—slightly shinier, oddly greasy, and definitely out of place. Turns out, I had overlooked something crucial: the hidden grease lurking behind my old paint. That lightbulb moment made me realize how many of us might be painting over problems we can’t see—and why exposing that grease can make all the difference in achieving a flawless finish.
The Trick That Changed My Approach to House Painting
Many homeowners, including myself at one point, struggle with uneven paint adhesion, stubborn stains, or wallpaper that refuses to peel cleanly. The culprit? Often, unseen wall grease and oils that prevent paint from sticking properly. The good news is, there’s a simple yet powerful test—the Soap and Water Method—that can help you find out what lies beneath your paint layers. Once I started using this technique, my projects became less frustrating, and the results looked professionally done. Today, I’ll walk you through how this test can save your wall from peeling nightmares and give your paint job the best chance to stick and stay perfect.
Is this test really worth the hassle? Or just another fad?
Early in my DIY journey, I made the mistake of skipping this step altogether, assuming my walls were clean enough. Spoiler: They weren’t. I learned the hard way that a quick clean, followed by the soap-and-water check, can reveal hidden grease and oils that sabotage your finished look. According to experts, residue from cooking, smoke, and even hand oils can create an invisible barrier that causes paint to fail prematurely. So don’t dismiss this step—because an ounce of prevention is worth a pound of scrubbing later. Curious how to do the test properly? Stay tuned, because I’ll be sharing my personal tips, tricks, and the exact process I use to ensure my walls are truly ready for fresh paint. And if this resonates with you, I recommend checking out [local painting strategies](https://elitepainterpro.com/painting-your-home-top-local-painting-strategies-revealed) to learn more about prepping your walls like a pro.
Start with the Cleaning Test
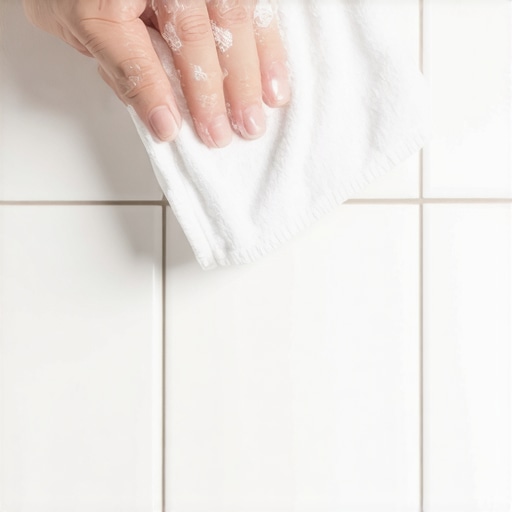
To identify unseen grease, begin by wiping a small, inconspicuous section of your wall with a clean cloth dipped in warm, soapy water. This quick step acts like a litmus test—if the cloth shows dirt or grease stains, your wall needs thorough cleaning. I remember once tackling a wall that looked spotless; after the test, I found oily spots, which explained why previous paint layers kept peeling.
Deep Clean Using the Right Methods
Once you’ve identified grease issues, switch to a more robust cleaning process. Mix a pump of degreasing solution or a few drops of dish soap with warm water. Use a sponge or soft scrub brush and gently scrub the entire wall surface, paying extra attention to corners and edges where oils tend to accumulate. Rinse with clean water and dry thoroughly. This process is like giving your wall a spa treatment—removing oils, smoke residue, and cooking grease that hinder paint adhesion.
Important Tip:
Avoid harsh abrasive cleaners which can damage drywall or paint underneath. Instead, opt for proven degreasers like trisodium phosphate (TSP) for stubborn areas. Remember, a clean surface isn’t just about aesthetics; it ensures your paint will stick properly and last longer. If you’re uncertain about the cleaning process or want a flawless finish, consider hiring professional local painters who specialize in prep work—an investment that pays off in quality.
Reassess with Another Test
After cleaning, repeat the soap and water test. Wipe the same area with a clean cloth. If no grime or oily residue appears, your wall is ready for primer and paint. If grease still shows, repeat the cleaning process. Rushing without proper prep is like building a house on a shaky foundation—eventually, problems emerge. This step is vital, especially in kitchens, bathrooms, or areas exposed to smoke or humidity. For more detailed techniques to improve your paint job, explore [local painting strategies](https://elitepainterpro.com/painting-your-home-top-local-painting-strategies-revealed) for expert tips.
 Many homeowners believe that choosing a high-priced paint guarantees a flawless finish, but in my experience, it’s more about proper preparation and technique than the brand or price. The misconception that a single coat is always sufficient is another pitfall; often, applying multiple coats with proper drying times yields a smoother, longer-lasting result, as supported by industry standards detailed in [the ultimate guide to house painting](https://elitepainterpro.com/the-ultimate-guide-to-house-painting-boost-curb-appeal). Overestimating the importance of superficial improvements can lead to neglecting critical steps like surface cleaning and priming, which are essential for durable paint adhesion. A common trap is thinking that professional results require professional tools alone—yet, even the best tools can’t compensate for improper surface prep or incorrect application techniques. Many DIYers overlook the nuances of paint finish choices; opting for matte finishes in high-traffic areas can backfire, as they tend to show every smudge, but if used correctly, they offer a sleek, modern look.
Let’s address a frequently asked question:
How do I know if my walls are truly ready for a new coat of paint?
Before painting, thoroughly inspect your walls for residues like grease, soap scum, or old peeling paint. The soap and water test, combined with a visual inspection under bright light, can reveal imperfections and contaminants that hinder adhesion. Additional steps like sanding glossy surfaces or filling in cracks with appropriate compounds can make a significant difference in the final appearance. Remember that small details matter—skipping any step can lead to issues like peeling, bubbling, or uneven sheen down the line. For a comprehensive approach, I recommend reviewing [local painting strategies](https://elitepainterpro.com/painting-your-home-top-local-painting-strategies-revealed) to avoid these common mistakes.
Another nuance often misunderstood is the role of environmental conditions; painting in high humidity or extreme temperatures can adversely affect drying times and surface curing. Wait for optimal weather conditions for exterior projects, and ensure good ventilation indoors. Don’t forget, the choice of primer can make or break your project—using a primer suited to your wall type and final paint can improve durability and color richness. For more advanced insights into surface prep and finishing techniques, explore [transforming spaces with local painting solutions](https://elitepainterpro.com/transforming-spaces-local-painting-solutions-for-every-budget).
Have you ever fallen into these traps or believed one of these myths? Let me know in the comments! Proper knowledge and attention to detail are your best tools for achieving expert-level results in house painting.
Keep It Working: Tools and Techniques for Durable, Professional-Quality Results
Achieving a flawless, long-lasting paint job in your home requires more than just choosing the right color or brand. It hinges on the quality of your tools and your maintenance regimen. Investing in professional-grade equipment and understanding how to maintain it can save you time and money in the long run. Today, I’ll share the tools I rely on and some expert tips to keep your painting projects top-notch over time.
Power Sanders for Perfect Surface Preparation
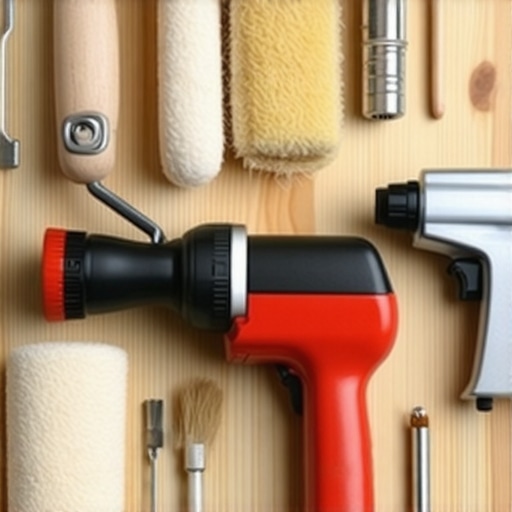
I swear by my orbital sander for prepping walls, especially textured surfaces or those with previous paint layers. Using a high-quality, variable-speed orbital sander with fine-grit sandpaper ensures you achieve a smooth, even surface, which is crucial for paint adhesion and finish quality. Regular maintenance involves cleaning the sanding pad and replacing worn paper promptly. This investment not only improves current jobs but also extends the lifespan of your tools.
Precision Brushes and Rollers
I’ve learned that cheap brushes and rollers can sabotage a project with uneven paint application and bristle loss. I prefer brushes with synthetic bristles for water-based paints, as they hold and distribute paint more evenly. Quality rollers with medium nap are ideal for textured or rough surfaces. Keeping these tools clean after each use with warm water and gentle soap preserves their quality, preventing bristle breakdown and ensuring consistent performance over multiple projects.
Spray Equipment for Large or Complex Areas
For exterior walls or large interiors, I turn to professional-grade paint sprayers. They deliver an even coat quickly, saving you hours of roller work, and can reach tricky corners. Proper cleaning after each use is critical; I disassemble the nozzle and clean every part to keep the equipment functioning flawlessly. As technology advances, airless sprayers are becoming more affordable, making professional results accessible to DIYers.
Maintenance and Storage: Extending Your Tool’s Lifespan
To ensure your tools remain reliable, follow manufacturer recommendations for cleaning, especially after using primers or stubborn paints. Store brushes and rollers in airtight containers or plastic bags to prevent the drying of residual paint. Power tools should be stored in dry, dust-free environments. Regularly inspecting cords and switches helps prevent malfunctions that could compromise your project. By maintaining your equipment well, you guarantee consistent results and avoid costly replacements.
Predicting Future Trends: Smart Tools on the Horizon
Looking ahead, I anticipate a surge in smart painting technology—brushes with sensors that monitor paint thickness, or AI-guided sprayers that optimize flow and coverage. Staying updated and investing in these innovations might streamline your process and improve long-term durability.
How do I maintain my painting tools over time?
The key to tool longevity is routine cleaning, proper storage, and timely replacement of worn components. For brushes and rollers, rinsing thoroughly with water or solvent (depending on your paint type) and drying properly prevents bristle or nap deterioration. Power tools benefit from regular inspections, cleaning, and keeping cords organized to prevent damage. Also, adhering to manufacturer instructions ensures your tools operate at peak performance, ultimately delivering professional-quality results that last ages.
Ready to take your house painting to the next level? Try investing in a quality orbital sander and establish a regular maintenance routine. These steps significantly enhance your long-term results, saving you both effort and expense. For more expert advice on transforming your space, visit this guide…
Lessons That Changed My Perspective on Local Painting
One of the most unexpected insights I gained was realizing how small details, like testing for grease, can make or break a paint job. Skipping these steps seemed harmless until I faced peeling walls and uneven finishes—experiences that taught me the importance of thorough prep work. Additionally, understanding the nuances of surface conditions, such as gloss levels and moisture, helped me avoid common pitfalls that even seasoned DIYers stumble upon.
Another lightbulb moment was discovering that investing in quality tools not only saves time but results in a much more professional outcome. The difference between a cheap brush and a high-quality synthetic one became clear when I found my projects smoother and cleaner. Lastly, I learned that patience—waiting for optimal weather and allowing coats to dry properly—is essential for longevity, turning what seemed like minor delays into major savings over time.
My Favorite Resources for Elevating House Painting Skills
To deepen my understanding, I rely on a handful of trusted sources. The Transforming Spaces guide offers practical strategies tailored for every budget, making complex techniques accessible. For selecting the right tools, Pro Tips provide insights straight from experienced painters, emphasizing the importance of proper technique and maintenance. I also follow industry updates through reputable blogs and forums, which help me stay ahead of trends like eco-friendly paints and automated sprayers. Lastly, I recommend keeping a detailed journal of your projects—tracking what works and what doesn’t—so you can refine your process over time.
Your Next Brushstroke Starts Now
Remember, every successful house painting project begins with a well-informed plan and a mindset geared toward perfection. Don’t hesitate to experiment with new techniques or seek professional advice when needed—all paths lead to a more beautiful, lasting finish. Embrace the learning process, and you’ll find that a little preparation goes a long way in transforming your space into something truly special.
What’s the biggest lesson you’ve learned from your own painting experiences? Share your story in the comments below and let’s grow together in mastering the art of house finishing.