

I’ll never forget the time I thought I could skip a crucial step in my painting project—just a quick wipe, right? Wrong. I ended up with dust smudges, uneven coverage, and a lot of frustration. That lightbulb moment taught me the hard way how essential proper prep is, especially when it comes to cleanliness before painting. Trust me, a little extra effort upfront pays dividends in the final result.
Why Dusting Walls Properly Is a Game-Changer
If you’re about to give your walls a fresh coat of paint, you might be tempted to just give them a quick dusting with a feather duster or even skip the step altogether. I’ve been there. But skipping or rushing this process can lead to poor adhesion, uneven texture, and a finish that doesn’t last. Properly cleaning your walls ensures that the first coat bonds well, resulting in a smooth, durable finish that looks professional.
The Biggest Skepticism: Is Dust Removal Really That Important?
I used to think a simple wipe-down was enough. My early mistakes included using a damp cloth that wasn’t thorough enough, leaving behind dust and cobwebs. That oversight caused me to redo several sections, wasting time and paint. According to experts, dust particles act like tiny barriers between the paint and the wall, compromising the finishing quality. A thorough cleaning might seem tedious, but it’s the secret weapon for a flawless paint job.
If you’ve ever wondered whether this step truly matters or if it’s just an unnecessary hassle, you’re not alone. Believe me, I’ve learned from experience—and I can promise that investing in proper cleaning will elevate your project from amateur to impressive. Ready to dive into the step-by-step process that ensures dust doesn’t sabotage your first coat? Keep reading, because the right technique makes all the difference.
For more expert insights on painting strategies that really work, check out top local painting strategies and discover how professionals prep their surfaces for long-lasting results.
,
Prepare Walls with Precision Dusting
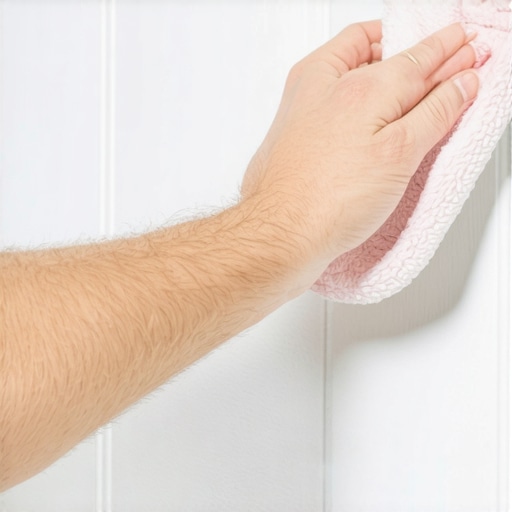
Start by removing furniture and covering remaining items with drop cloths to prevent dust displacement. Use a clean, microfiber dust cloth or a soft-bristled brush attachment on a vacuum to gently but thoroughly remove loose dust, cobwebs, and spider webs. I once used an old feather duster that barely caught surface dust, leaving much behind, which led to uneven paint adhesion. Ensure every corner, ledge, and crevice is addressed, as residual dust contributes to imperfections in your finish.
Tackle Stubborn Dirt and Residue
For greasy spots, nicotine stains, or sticky residues, dampen a sponge with a mixture of warm water and a few drops of mild dish soap. Ring out excess moisture so the sponge is just damp, not soaked. Wipe in gentle, circular motions, paying close attention to areas prone to accumulation, like light switches, door frames, and wall edges. Use a second clean, damp cloth to rinse the wall, then dry immediately with a microfiber towel. This step prevents leftover grime that can compromise primer and paint adherence.
Correct Techniques for Maximum Effect
Use a two-step system: first, a wide, low-density microfiber cloth for large surface areas; second, a detail brush or smaller cloth for tricky spots. When cleaning corners and edges, hold the cloth at a slight angle and make gentle, overlapping strokes to dislodge dust in difficult-to-reach spots. Remember, aggressive scrubbing can damage wall surfaces, so treat your walls like delicate fabric—light touches yield the best results. Once cleaned, wait a few minutes for surfaces to air dry thoroughly—wet surfaces trap dust and create future adhesion issues.
Implementing Your Clean Wall
Before proceeding to primer or paint, consider running a tack cloth lightly over the surface to pick up lingering dust particles. This extra step ensures a perfectly clean foundation, comparable to how a painter I know uses a lint roller to remove specks from wallpaper before painting—meticulous but effective. Skipping thorough cleaning is akin to baking a cake without sifting flour; tiny imperfections become glaring in the final product. Proper dust removal guarantees your paint sits smoothly and lasts longer, giving your wall that professional finish you desire.
If you’re interested in more detailed techniques, check out local painting strategies that emphasize surface prep for lasting results.
Most homeowners and even some DIY enthusiasts carry preconceived notions about painting, often believing that everything hinges on selecting the right color or having a flawless brush technique. However, as seasoned painters will tell you, there are subtle nuances and common myths that can make or break the quality and longevity of your paint job. Let’s explore some of these expert insights that go beyond the basics, shedding light on pitfalls many fall into.
Why the ‘One-Size-Fits-All’ Approach Fails in Professional Painting
A prevalent misconception is that applying the same primer and paint types universally guarantees a good outcome. In reality, every surface has unique needs—wood, drywall, concrete, or metal—all react differently to coatings. For instance, using regular wall paint on a metal door without a suitable primer can lead to peeling within months. Professional-grade paint and proper surface preparation tailored to the material are essential—something that many overlook in their eagerness to start painting. Mastering surface-specific techniques elevates results significantly.
Moreover, understanding the chemistry behind paints dispels some myths. Water-based paints are not always suitable for exterior projects, especially in humid climates, where oil-based or specialty paints tend to offer better durability. Knowing these nuances can prevent costly rework and disappointment.
Beware the ‘Quick Fix’ Trap When Painting
Many novices believe that a thin first coat or skipping surface prep can save time. The truth is, rushing through prep work—such as inadequate sanding, neglecting to repair cracks, or skipping cleaning steps—sets the stage for failures like bubbling, cracking, or uneven coloring. An advanced mistake is applying thick coats to cover imperfections, which often causes paint to crack or peel prematurely. Patience and proper technique, such as multiple thin coats, provide a much more professional finish and make the paint last decades longer.
Remember, research shows that meticulous surface prep can increase paint adhesion and lifespan by up to 50%. Skipping these steps is a false economy that most experts warn against. Want to see how detailed prep can transform your space? Dive into expert house painting tips for 2025.
Another tricky aspect is understanding the environmental impacts—using low-VOC or zero-VOC paints for interior walls is not just a health benefit but also improves paint curing and adhesion, especially in enclosed spaces. Misinformation about traditional paints being better persists, but research supports that healthier options are equally durable when applied correctly.
What About Color Uniformity Across Different Batches?
One often overlooked nuance is batch consistency. Even the best paint can vary in color and texture if not mixed properly or if batches are stored under different conditions. Professional painters always remix paint thoroughly and, when necessary, do a small test patch. This attention to detail prevents mismatched patches that can ruin the visual harmony of a room. For comprehensive guidance on achieving uniform color, check out expert advice on color matching.
Lastly, understanding dry times and curing processes is crucial—patience delays can cause accidental damage, like fingerprints or smudges, if you rush to finish too soon. Proper curing enhances the paint’s hardness and color stability over years.
In conclusion, successful local or house painting transcends superficial techniques. It involves mastering surface-specific preferences, avoiding shortcuts, and paying attention to details like batch consistency and environmental considerations. Don’t let these common myths trap you into subpar results. Want to deepen your knowledge? Explore why local painting really matters for boosting your home’s value and appearance. Have you ever fallen into this trap? Let me know in the comments to share your experiences and lessons learned.
Keeping It Working: Essential Tools and Maintenance Strategies
To ensure your house painting stands the test of time, investing in the right tools and adhering to proper maintenance routines is crucial. I personally rely on high-quality extension poles, such as the Werner Multi-Position Extension Pole, which allows me to reach high ceilings and exterior walls without the need for ladders, reducing fatigue and increasing safety. Additionally, a good electric paint sprayer like the Graco Magnum ProX19 helps achieve smooth, even coverage on large surfaces and is far more efficient than traditional brushes or rollers for extensive projects. Regularly inspecting and cleaning these tools after each use, following manufacturer recommendations, prolongs their lifespan and maintains optimal performance.
When it comes to software, I recommend using digital project management tools like Trello or Asana to schedule maintenance tasks, track touch-up dates, and plan future projects. Keeping a detailed record helps in identifying patterns of wear or issues that need addressing early, saving time and money in the long run.
Predicting where the trend is heading, I believe that smart technology—such as IoT-enabled paint sensors that monitor surface conditions and paint health—will become more mainstream. They could alert homeowners or professionals when touch-ups are necessary, ensuring long-term durability without guesswork.
How do I maintain my painting tools and surfaces over time?
Maintaining your tools involves thorough cleaning after each use, especially for sprayers and rollers. For brushes, rinse with warm water or appropriate solvent based on the paint type, then reshape the bristles. Store equipment in a dry, covered space to prevent rust or mold growth. For your painted surfaces, routine cleaning with gentle soap and water, inspecting for cracks or peeling every few years, and touching up problem areas promptly can extend the life of your paint job. Applying a clear, UV-resistant sealer every 3-5 years on exterior surfaces can also protect against weathering and fading.
Keep in mind that high-quality primers and paints, like those recommended on top local painting strategies, will yield better protection and longer-lasting results, especially when combined with proper surface prep and maintenance routines.
For those interested in mastering long-term paint care, I suggest trying the advanced technique of using moisture meters (see this model) to check substrate conditions before repainting exterior surfaces. This prevents premature peeling caused by hidden moisture issues, a common oversight that can lead to expensive rework.
Implementing these tools and strategies will not only preserve your current paintwork but also make future repairs easier and more effective. Remember, proactive maintenance is the key to lasting beauty and protection in your house painting projects. Don’t hesitate to incorporate these methods into your next project and see how much longer your paint lasts!
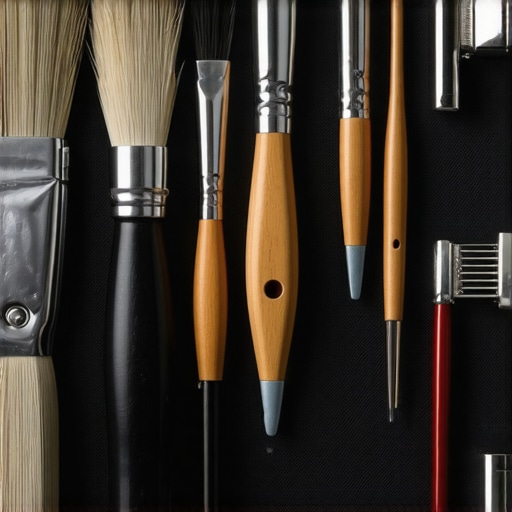
Stay ahead of wear and tear by checking your surfaces regularly and using precision tools. For comprehensive guidance on minimal effort maintenance, don’t miss expert painting tips for 2025.
Uncovering Hidden Pitfalls in Painting You Never Knew
One of the most valuable lessons I’ve learned is that surface prep is an art in itself. Skipping steps like thorough dust removal or neglecting to repair minor cracks might seem insignificant, but these oversights can undermine your entire project. A lightbulb moment for me was realizing that the subtle imperfections left unaddressed tend to become glaring flaws over time, reminding me that perfection lies in the details. Also, understanding that not all paints or primers are one-size-fits-all has helped me avoid costly mistakes. Recognizing the importance of material-specific surface preparation has truly transformed my approach, leading to much more durable, professional-looking results.
Finally, I’ve learned that patience during drying and curing phases is critical. Rushing the process to finish faster often results in surface imperfections or peeling. Embracing the timing recommended by professionals ensures that your work stands the test of time, making every effort worthwhile in the end.
Tools and Resources That Elevate Your Craft
My go-to tools include the Werner Multi-Position Extension Pole for reaching tricky high spots safely and efficiently, which I trust because it significantly reduces fatigue and improves precision. The Graco Magnum ProX19 paint sprayer has revolutionized my large surface projects by providing smooth, even coverage, saving me time and effort compared to traditional brushes. For maintaining these tools, I rely on high-quality cleaning supplies like the top local painting strategies recommenders suggest, ensuring longevity and peak performance. Additionally, I keep a moisture meter handy, which helps me assess substrate readiness before painting, preventing future peeling caused by hidden moisture. These resources and tools, combined with ongoing education from trusted sources, have consistently raised the standard of my work and confidence in tackling any project.
Your Next Step: Bring Your Vision to Life with Confidence
Remember, every successful paint job begins with understanding that preparation and the right tools are just as important as the painting itself. Embrace the process, pay close attention to detail, and choose quality materials; your future self will thank you for it. The world of local painting offers endless opportunities for creativity and mastery—don’t hesitate to start applying these insights today and see your projects transform from good to extraordinary.
What’s been your biggest challenge in seeking a professional finish? Share your story below and let’s learn from each other!