

Have you ever stood back after a fresh coat of paint and noticed those pesky bubbles forming almost immediately? I have, and honestly, it felt like a punch to the gut. I was excited to refresh my living room, armed with optimism and a favorite paint color. But within hours, bubbling surface imperfections marred my efforts, turning my dream project into a frustrating ordeal. That lightbulb moment—realizing high humidity was sabotaging my work—changed everything.
Why High Humidity Can Sabotage Your Painting Success
If you’ve ever painted during what looked like an ideal day only to find your walls riddled with bubbles, you’re not alone. Humidity plays a sneaky role in paint adhesion, especially when moisture levels soar. When high humidity is present, the moisture in the air causes the solvent in the paint to evaporate unevenly. This leads to surface tension, trapping air and moisture underneath, which manifests as those irritating paint bubbles. It’s a common, yet often overlooked, culprit that can turn a confident homeowner into a paint disaster victim.
Have You Been Blaming the Paint or the Technique?
Early in my journey, I mistakenly thought I was doing something wrong—maybe I skipped a step or used a bad brush. Turns out, I jumped into painting without considering the weather, and my mistake was a classic one. As I learned more from trusted sources—like professional painting tips—I realized that painting in humid conditions is like rollerblading on an icy day: asking for trouble. Understanding the nuances of weather conditions is essential for a flawless finish.
So, how can you avoid this common pitfall? How do seasoned pros keep bubbles at bay? Well, that’s what we’re about to explore. Whether you’re tackling a small room or a large exterior, knowing the impact of humidity can save your project time, money, and your sanity. Ready to dive into the practical solutions? Let’s get started.
Prep Your Space and Check Weather
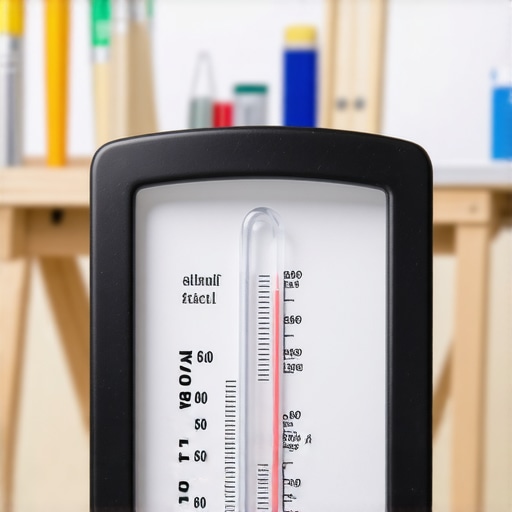
Before you pick up that brush, assess your environment meticulously. Use a reliable humidity meter—think of it as your painting compass—to ensure moisture levels stay below 50%. Schedule your project for early morning or late afternoon when humidity typically dips. I vividly recall delaying my work until a clear, dry day; the difference was night and day, with paint drying smoothly and no bubbles forming.
Choose the Right Materials to Combat Moisture
Opt for paints formulated for humid conditions—look for labels indicating they are mildew-resistant or designed for exterior use with high moisture zones. Use high-quality primers to create a barrier between the wall and paint, especially on porous surfaces like drywall or brick. Once, I learned this the hard way when skipping primer led to bubbling even on a relatively dry day; the wall’s moisture trapped underneath caused issues down the line.
Implement Proper Surface Preparation
Clean surfaces thoroughly to remove dust, grease, and old peeling paint. Sand rough areas to ensure smooth adhesion. I once tried painting over a dusty wall without cleaning; the paint lift-off was immediate, resembling peeling wallpaper. Remember, proper prep is the foundation of a durable finish—skip it, and the entire job risks failure.
Apply Paint Strategically to Minimize Moisture Traps
Use thin, even coats instead of thick layers, allowing each to dry completely before applying the next. Think of paint as a layer of thin glass—you want it to set uniformly without pockets of moisture. I once rushed through a two-coat job, only to find blistering the next day, because I hadn’t allowed adequate drying time. Patience and proper application techniques save headaches later.
Control Indoor Humidity During Painting
If painting indoors, use dehumidifiers or air conditioners to keep moisture levels in check. Ventilate adequately: open windows and use fans to circulate air but avoid direct drafts that can cause rapid drying and surface cracking. On a humid weekend, I set up a dehumidifier in my living room, which kept humidity low, ensuring the paint dried smoothly and evenly.
Post-Painting Care and Inspection
Allow sufficient curing time—often 24-48 hours—before touching or moving furniture. Inspect your work immediately for any bubbles or imperfections. If bubbles appear, gently sand them down and reapply a thin layer of paint. This quick correction saved me from repainting an entire wall after noticing bubbling within the first day of drying.
By following these targeted, actionable steps, you can significantly reduce the risks that high humidity poses to your painting projects. Remember, preparation and patience are your best allies—think of them as your paint’s invisible armor against moisture-related mishaps. For more in-depth strategies tailored to specific surfaces or environments, visit professional painting tips that delve into detailed techniques to elevate your results.
 Many DIY enthusiasts and even seasoned homeowners often believe they understand house painting inside out. They might think that choosing the right color or applying a few coats guarantees a perfect finish. However, beneath these surface-level beliefs lie nuanced truths that can make or break your project. Let’s dig deeper into some common myths and advanced mistakes that can trip up even experienced painters.
A prevalent misconception is that high-quality paint alone can compensate for poor preparation. While premium paints offer better durability, they cannot fix surface issues like dirt, grease, or imperfections. Skipping proper prep can lead to adhesion problems, bubbling, and uneven texture, regardless of paint quality. Professional painters emphasize thorough surface preparation as the cornerstone of a lasting finish. For insights on prepping your walls effectively, visit this guide.
Another misconception revolves around color selection. Many think that darker colors inherently require more coats, making them more prone to uneven coverage. In reality, with the right primer and techniques, dark hues can be applied smoothly in fewer coats than commonly believed. Overlooking the need for a proper primer when painting over lighter shades often results in multiple coats, increased costs, and longer timelines. Consider exploring expert advice on color and primer selection.
*So, why do many homeowners continue to make advanced mistakes?*
One critical trap is neglecting environmental factors like humidity and temperature during painting. While beginners are often aware of the importance of dry weather, they might not realize the subtler effects of indoor moisture levels or the timing of painting sessions. For example, painting in high humidity conditions can cause slow drying, surface blisters, and adhesion failures—issues that are not immediately obvious but manifest over time. Interestingly, studies show that fluctuations in indoor humidity can alter paint curing, leading to finish imperfections. To prevent this, use a dehumidifier and check weather forecasts before starting. For detailed strategies, explore this expert guide.
Are there shortcuts that seem tempting but cause long-term issues?
Absolutely. Many homeowners fall into the trap of rushing through surface prep or applying thick coats to save time. While it might seem efficient initially, these shortcuts can cause bubbling, cracking, and peeling months later. Thin, even coats with proper drying time are essential, and skipping these steps often leads to more work and increased costs down the line.
Additionally, advanced painters understand the importance of proper lighting inspection to catch imperfections like brush strokes or roller marks that aren’t visible under normal conditions. Regular inspections with a bright flashlight can reveal flaws that compromise the quality of the finish. Remember, shortcuts that neglect detail often become costly mistakes. For more nuanced tips, check this article.
In essence, mastering house painting isn’t just about having the right tools; it’s about understanding the intricate nuances that influence the outcome. Recognizing these hidden pitfalls and correcting common myths can elevate your projects from average to professional quality. Have you ever fallen into this trap? Let me know in the comments.
How do I maintain my painting tools over time?
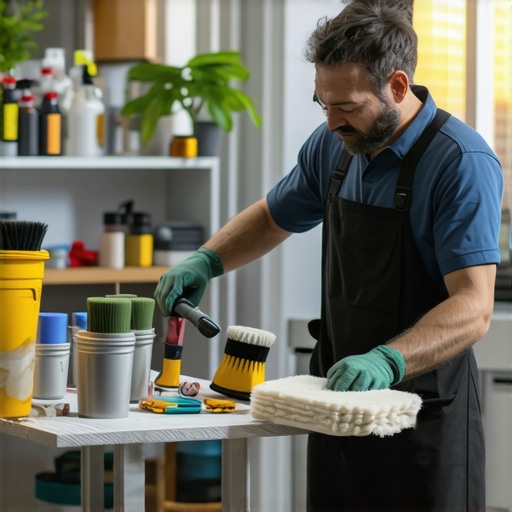
Maintaining your painting tools is essential for ensuring long-term quality and cost-efficiency. I personally swear by using high-grade brushes with synthetic bristles for smooth application and longevity, especially when working with water-based paints. After each use, I thoroughly clean brushes and rollers with warm, soapy water, and dry them properly to prevent bristle curling or mold growth. This diligent care prevents the buildup of dried paint, which can compromise future projects and lead to uneven finishes.
For sprayers and power equipment, I recommend following the manufacturer’s maintenance instructions meticulously. Regularly inspecting and replacing worn parts, such as seals and filters, keeps your equipment functioning at peak performance and reduces the risk of mishaps or uneven coatings. I also use silicone spray on moving parts to prevent rust and ensure smooth operation for repeated use.
Tools I recommend for professional-quality results
One game-changing tool I rely on is the HVLP (High Volume Low Pressure) sprayer. It allows for even coverage, faster application on large surfaces, and minimal overspray. Personally, I use the Fuji Spray 2203G HVLP model because of its adjustable pressure control, durability, and ease of cleanup. It significantly reduces lap marks and uneven textures—common pitfalls for DIY painters.
In addition, I always keep a quality painter’s tape at hand. The tape ensures crisp lines and prevents paint bleed, saving time on touch-ups and rework. For surfaces that demand high precision, I prefer using edge painters with adjustable guides, which significantly improve efficiency and accuracy.
Looking ahead, advancements in smart painting tools are on the horizon. Technologies like digital color-matching devices and app-controlled sprayers promise to elevate home painting, making it more precise and less labor-intensive. Staying updated on these innovations can give you an edge in maintaining your home’s aesthetic appeal with less hassle.
Why staying on top will pay off in the long run
Consistent maintenance of your tools ensures they remain effective, extending their lifespan and reducing operational costs. Properly maintained tools lead to smoother finishes, fewer touch-ups, and a professional-grade appearance that endures over time. To keep your tools in top shape, schedule regular inspections, clean after every project, and store them properly—preferably in a dry, climate-controlled environment.
For an advanced tip, try disassembling and lubricating your spray gun’s moving parts every few projects. A well-oiled sprayer will deliver consistent pressure and atomization, crucial for achieving flawless finishes, especially on challenging surfaces like stucco or textured drywall. For comprehensive tool maintenance strategies, consider visiting this expert guide.
By investing in high-quality tools and dedicating time to proper maintenance, you’ll enjoy not just better results but also a more enjoyable painting experience. Ready to upgrade your toolkit? Try applying one of these maintenance tips today and notice the difference in your next project.

Over the years, I’ve realized that the most overlooked enemy of a perfect paint job is often invisible—humidity. It’s easy to dismiss a cloudy day or a humid afternoon, but understanding how moisture impacts paint adhesion can mean the difference between a flawless finish and costly rework. Embracing this insider knowledge isn’t just about fixing mistakes; it’s about transforming your approach so every project feels satisfying and professional.
The Hidden Lessons I Still Carry from My Painting Failures
- Timing is Everything: I used to paint whenever I had free time, disregarding the weather. Now, I know that scheduling my project during low-humidity periods—early mornings or late evenings—ensures better adhesion and fewer bubbles. The lightbulb moment was realizing that weather directly affects how paint cures.
- Material Choice Matters More Than You Think: I once went for a cheaper primer, thinking it was a minor detail. Later, I learned that quality primers act like a moisture barrier, preventing bubbling even in less-than-ideal conditions. Investing in the right materials can save hours of frustration.
- Preparation Is the Unsung Hero: Skipping surface prep felt efficient at the time, but I ended up redoing areas with peeling or bubbling. Proper cleaning, sanding, and priming create a foundation that withstands humidity’s challenges.
- Listening to the Environment Protects Your Work: Recognizing subtle signs of high moisture—like dampness on the walls or a musty smell—has helped me delay projects until conditions improve, rather than fighting an uphill battle against moisture.
- Patience Pays Off: Rushing to complete a job in humid conditions guarantees hiccups. Waiting for the optimal weather window, even if it takes an extra day, results in a smooth, durable finish. For expert insights on weather-proofing your painting plans, visit professional tips.
My Go-To Resources That Elevate My House Painting Skills
- Trusted Toolbox: I rely on a high-quality humidity meter, which acts as my personal weather forecaster. Knowing the exact moisture levels helps me decide when to paint or wait. It’s a small investment that yields big results.
- Books I Keep Close: While I love hands-on experience, reading this comprehensive guide has deepened my understanding of moisture management and the science behind paint drying processes.
- Online Communities: Joining forums and social media groups dedicated to local painting has connected me with seasoned pros who share firsthand advice on handling humid conditions and troubleshooting unexpected bubbling or peeling.
- Specialized Tools: My dehumidifier isn’t just a luxury; it’s a crucial part of my indoor painting setup. Correct humidity control accelerates drying and improves finish quality, making every project more satisfying.
Your Next Step—Bring Confidence to Every Paint Job
Applying these insider secrets transforms house painting from a daunting task into a rewarding craft. The key lies in respecting the environment, choosing quality materials, and practicing patience. Whether tackling interior or exterior projects, understanding moisture’s role ensures your work will stand the test of time. Take that extra moment to assess your surroundings—your future self will thank you for the perfect, bubble-free finish. Ready to elevate your painting game? Dive deeper into the expertise that separates amateurs from pros by exploring local painting secrets today.