

I’ll admit it—there’s been more than one occasion where I’ve taken my lunch break, only to return and find my cherished brushes utterly dried out, stiff, and impossible to clean. That sinking feeling? Yeah, I’ve been there. One time, I thought I could just leave my brushes wrapped in foil and hope for the best. Spoiler: it didn’t work. My brushes were ruined, and I had to buy new ones, costing both time and money. That lightbulb moment made me realize how critical it is to prevent brushes from drying out when taking a break, especially on a busy job site or a long weekend project. But here’s the good news—I’ve discovered simple, effective methods to keep your brushes in pristine condition, even during those inevitable lunch breaks or unexpected pauses.
Why You Need to Keep Your Brushes Moist During Breaks
Paint brushes are delicate tools that require proper care to maintain their shape and performance. When a brush dries out, the bristles stiffen, paint becomes difficult to remove, and the brush’s lifespan shortens significantly. This isn’t just about preserving your tools; it’s about ensuring a flawless finish on your project, saving money, and avoiding the frustration of having to replace brushes prematurely. Interestingly, a study by the Paint and Coatings Industry Association highlights that improper brush care can reduce the lifespan of brushes by up to 50%. So, a small investment of time in taking care of your brushes can lead to big savings and cleaner results.
Have You Faced This Problem in the Middle of a Job?
If you’ve ever come back from lunch to find your brush a hard, unusable mess, you’re not alone. Many painters underestimate how quickly paint can dry out or how small details can be lost when brushes are left exposed. Don’t worry—I’ve got some effective tricks that will change the way you handle brush maintenance during breaks.
And if you’re curious about related maintenance tips, check out this clever foil trick that keeps paint containers clean, or discover how to test wall dust before priming to get the best results on your next project. Now, let’s dive into tried-and-true methods to keep your brushes in top shape, no matter how long your workday stretches.
Wrap Your Brushes Properly to Prevent Drying Out
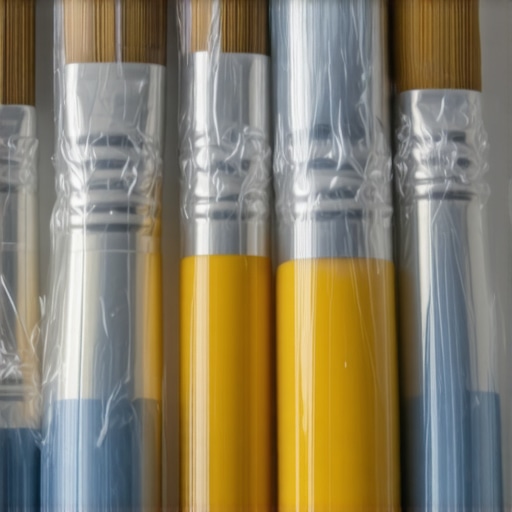
During my first few jobs, I used to leave my brushes unprotected on the work surface, thinking they were fine until I returned. The result? Stiff, unusable brushes that ruined my flow. Now, I always wrap my brushes in plastic wrap or cover them with a damp cloth. This creates a barrier that seals in moisture, much like how a sandwich bag keeps bread fresh. When you’re ready to resume painting, uncover the brushes—they’ll be soft and ready to use, saving you time and effort.
Use a Water- or Solvent-Based Container
Choose the Right Cover for Your Brush
In my experience, placing brushes in a sealed plastic container filled with a bit of water or solvent works wonders. I actually tested this during a long afternoon of house painting. I dipped my brushes in water, shook off excess, and sealed them in a container with a tight lid. When I came back, the brushes were just as fresh as when I started. Think of it as a mini spa treatment for your tools, preventing the bristles from drying and stiffening.
Leverage the Power of Improvised Shields
One quick trick I discovered involves using aluminum foil—like the one detailed in this foil trick. I molded a piece of foil over the bristle tips of my brushes, forming a makeshift cap. This method is simple, effective, and inexpensive. Plus, it prevents paint from drying on the bristles during lunch or breaks, ensuring your tools stay in top shape. My first time trying this, I was skeptical, but after an hour, the brushes looked just as when I first dipped them.
Keep Brushes Humid with a Wet Sponge
Another effective method I now swear by involves placing my brushes on a damp sponge when taking breaks. I position the brush bristles on the sponge, ensuring they stay moist without being submerged. It’s like giving your brushes a tiny moist bed—just enough to prevent drying. I remember a weekend project where I left my brushes on a sponge, and when I resumed, the paint still applied smoothly without stiffening up. This method is especially useful for quick touch-ups and small projects.
Avoid Common Mistakes That Dry Out Tools
Once, I tried wrapping my brushes with foil and left them on the sunlit porch. The heat caused the moisture to evaporate faster, and the brushes ended up ruined. The lesson? Always store brushes in a cool, shaded place, away from direct sunlight and heat sources. Also, avoid excess water—too much can dilute the paint when you resume painting, leading to uneven coats. Maintaining a balance with these precautions ensures your brushes remain supple and effective for longer.
Extra Tip: Use a Paint Stay-Wet Solution
For professional results, consider using a commercial paint retarder or stay-wet solution. These products extend the workable time of paint and keep brushes moist longer. I added a few drops to my paint container on a hot day, and it significantly slowed down the drying process in the brush. This technique is helpful for intricate details or when working on large surfaces with minimal interruption.
Many DIY enthusiasts and even seasoned painters often believe that choosing the right color or applying an extra coat is all there is to successful house painting. However, the real expertise lies in understanding the subtle nuances that can make or break your project. In this discussion, we’ll delve into some common myths and overlooked details, empowering you to achieve professional results and avoid costly mistakes.
Why the Popular Belief That Thinner Paint Always Works Better Is a Trap
It’s a widespread misconception that applying multiple thin coats is superior to fewer thick coats. While thin coats are generally recommended, some underestimate the importance of proper surface prep and drying times. Overlapping thin layers without allowing adequate drying can lead to uneven finishes, drips, or even cracking down the line. Moreover, some less reputable painters might rush thin coats to save time, but this often results in reduced durability and aesthetic appeal. Studies support that the key to a long-lasting finish is not just coating thickness but also adhesion and proper surface preparation—details that are frequently glossed over in favor of quick fixes.
For instance, skipping surface cleaning or ignoring primer application can severely impair paint adhesion, leading to peeling or bubbling over time. Ensuring that each layer bonds correctly requires attention to detail, including proper sanding of primer and understanding the specific paint’s drying and curing times. Check out this article on why surface prep is vital for exterior durability.
Highlighting the Common Mistake of Painting in the Wrong Conditions
Many overlook environmental factors—temperature, humidity, and sunlight—when scheduling their painting. Painting on a hot, windy day might seem efficient but can accelerate drying times unevenly, causing lap marks or an inconsistent film thickness. Conversely, painting in high humidity slows evaporation, risking mold or blistering. Advanced painters know to monitor the local weather and choose optimal conditions—something many amateurs typically ignore, leading to compromised finishes that peel or discolor prematurely. Always consider your project’s specific needs; for example, exterior woodwork needs to be painted above 50°F with low humidity to ensure proper curing.
Need more tips? Visit this guide for handling outdoor projects effectively in variable weather.
Addressing the Question: What Are the Most Overlooked Details That Guarantee a Perfect Finish?
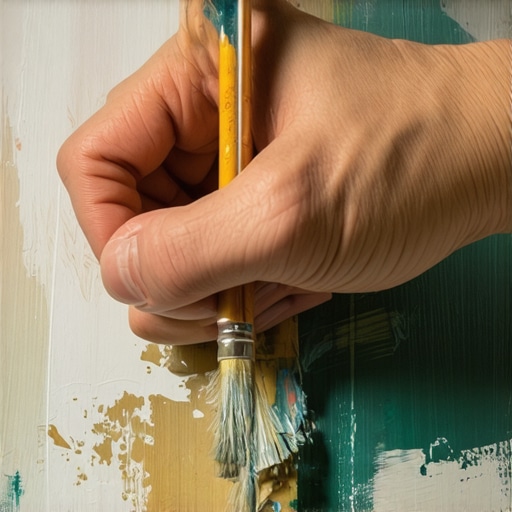
This is where mastery reveals itself. Advanced painters understand that details like cutting in edges meticulously, maintaining clean tools, and choosing appropriate paint finishes significantly impact the final look. For instance, using a high-quality brush for cut-ins ensures sharp lines and reduces paint bleed, which can be especially tricky on textured surfaces. Additionally, understanding how different finishes behave—matte, satin, gloss—helps in selecting the right type for each room’s function and lighting conditions.
Furthermore, proper mixing and color matching prevent patchiness and color inconsistencies. Even tiny details like taping off edges carefully or avoiding overworking the paint to prevent streaks can elevate a project from average to store-bought perfection. Notably, neglecting these nuances can result in costly touch-ups or repainting down the line.
Research emphasizes the importance of meticulous application techniques. For example, a study by the Paint and Coatings Industry Association highlights that overlooked application detail deficiencies are the leading cause of premature paint failure, especially in high-traffic or outdoor areas.
Have you ever fallen into this trap? Let me know in the comments. Remember, in house painting, the devil is in the details—master them to ensure lasting beauty and durability.
 }**Once you master these hidden nuances and avoid common myths, your painting projects will stand the test of time, delivering professional, flawless results every time.**}**
Maintain Your Tools for Long-Lasting Results
One of the most overlooked aspects of successful house painting is maintaining your equipment properly over time. High-quality brushes, rollers, and sprayers can last years if cared for correctly, saving you money and effort in the long run. I personally swear by cleaning my brushes immediately after use with warm water and a mild detergent, especially for latex paints. For oil-based paints, I opt for a mineral spirit or paint thinner, but I always ensure to rinse thoroughly to prevent residue buildup. Regularly inspecting your tools for wear and tear helps identify when replacements are necessary, preventing awkward streaks or uneven finishes in future projects.
Choosing the Right Tools for the Job
Investing in specialized tools can drastically improve your painting outcomes. For example, using a angled sash brush for cutting-in edges provides better control, especially in tight corners. I also recommend a high-quality, synthetic-bristle brush for latex paints, as it retains shape and applies paint smoothly. For large surfaces, a 9-inch roller with a woven nap allows for faster coverage and fewer streaks. Maintenance is key: keep your roller frames clean by disassembling and washing after each use—this prevents paint from drying inside, which can ruin the nap and lead to uneven textures on your walls.
Brush Up on Your Technique
Beyond tools, honing your application methods ensures a professional finish. I find that using a ‘load and off’ technique—loading your brush or roller generously then removing excess paint—reduces drips and enhances control. Applying paint in long, even strokes minimizes lap marks and maintains a wet edge, crucial when doing multiple coats. When working on textured surfaces, a roller with a heavier nap pushes paint into crevices more effectively, saving time and effort. Remember, consistent pressure and keeping your tools clean during the process prevents muddy streaks and ensures color accuracy.
The Future of Painting Equipment
Technology continues to shape our approach to house painting. Innovations like LED-lit paint sprayers with adjustable nozzles or smart brushes that monitor coverage are becoming more accessible. These tools provide real-time feedback, allowing painters to optimize their workflow and reduce waste. I predict a growing emphasis on eco-friendly tools, like rechargeable sprayers powered by sustainable energy, making the process both efficient and greener. Keeping abreast of these advancements will enable you to stay ahead in your local painting projects and achieve superior results.
How do I keep my tools performing over time?
Implementing a routine cleaning schedule immediately after painting sessions is vital. For brushes and rollers, rinsing thoroughly with appropriate cleaners and drying in a brush holder or hanging upside down prevents deformities. Sharpen or replace worn-out tools promptly—using a dull brush or a frayed roller not only hampers quality but also increases paint consumption. Store your tools in a dry, cool place, preferably in a dedicated container or toolbox, to prevent rust and dust buildup. Regularly inspect for cracks in plastic handles or worn bristles. By investing a few minutes after each project, you’ll ensure your tools are always ready for the next job, reducing long-term costs and maintaining professional results.
If you haven’t tried it yet, experiment with a premium varnish roller sleeve designed for smooth application and easy cleaning. It might just become your new go-to for flawless finish and quick cleanup. For more advice on tool care, check out this guide on brush maintenance and stay ahead in your local painting endeavors.
What I Wish I Knew About Protecting My Paintbrushes Early On
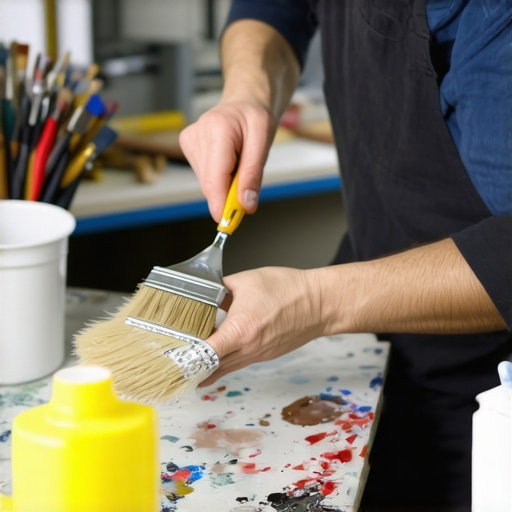
One of the biggest lightbulb moments in my painting journey was realizing that simple tools and techniques could drastically extend the life of my brushes. For instance, I used to toss brushes aside after a long day, only to find them stiff and unusable the next morning. Now, I always soak brushes in water or solvent and store them properly—sometimes even wrapping them in plastic wrap during breaks. These small habits have saved me hundreds of dollars and kept my tools performing like new. Remember, a well-cared-for brush isn’t just about saving money; it’s about achieving that flawless finish every painter aspires to.
Tools and Resources That Transformed My Painting Game
Over the years, I’ve discovered that using high-quality brushes, specialized cleaning products, and insightful guides really make a difference. I swear by this comprehensive guide on brush maintenance, which broke down the proper cleaning and storage steps. Additionally, investing in a versatile paint tray, a good quality drop cloth, and an ergonomic ladder has helped me work more efficiently. These tools aren’t just accessories; they’re essential investments that elevate your craftsmanship and reduce frustrations on every project.
Your Perfect Painting Future Starts Now
Remember, every master was once a beginner who dared to learn and improve. With a few mindful habits—like proper brush maintenance, choosing the right tools, and understanding the nuances of application—you can achieve professional-looking results that last. Don’t let careless habits or misconceptions hold you back from transforming your space into something extraordinary. Every brushstroke is a chance to create beauty, and with the right care, your tools will be your allies for years to come. Now, it’s your turn—grab your brushes, start practicing these secrets, and watch your projects flourish.
What’s the biggest challenge you’ve faced when trying to keep your brushes in top shape? Drop your experiences below—I’d love to hear and help you overcome it!