

Have you ever leaned against a freshly painted wall only to see your hand come away with a faint smear of paint? That moment of realization hits hard—your beautiful new walls, ruined not by something dramatic like a bump or scrape, but simply by routine cleaning. I remember the first time it happened in my own house. I was wiping down the kitchen backsplash, expecting a quick refresh, only to watch the paint peel and flake like dried glue. That lightbulb moment made me wonder: Why in the world is this happening to me? And more importantly, how can I prevent it from ruining my home again?
The Frustration of Paint That Won’t Stick
It’s incredibly maddening. You invest time, effort, and money into a paint job—choosing the perfect color, prepping the walls meticulously—and then, with each cleaning, it starts to fall apart. No matter how gentle you are, the paint seems to weaken, peeling away just when you think it should be durable. This isn’t just a minor annoyance; it can seriously undermine your confidence in your own home maintenance skills.
So, what’s going wrong? Most often, it boils down to inadequate surface preparation, choosing the wrong type of paint, or applying it under less-than-ideal conditions. Early in my painting journey, I made the mistake of assuming that a good-quality paint alone would handle everything—only to discover that surface prep was just as crucial. I learned the hard way that skipping primer or rushing the drying process can cause paint to adhere poorly, leading to peeling and rubbing off.
Can Your Paint Survive the Clean?
This article will walk you through the common causes of paint peeling during cleaning, backed by expert insights, and share practical solutions I’ve used to fix and prevent this problem. Trust me—once you understand the why, you can take the right steps to keep your walls looking fresh and intact long after the paint has dried. If you’re tired of touching up or repainting every few months, keep reading. We’ll also explore how to choose the best paint for your situation, and I’ll share some tips that can save you money and frustration. By the way, do you often find that your paint rubs off even when you’re just wiping with a soft cloth? Drop a comment below—I’d love to hear your story and help troubleshoot your specific issues.
According to a study by the Paint & Coatings Industry, poor adhesion is one of the leading reasons for premature paint failure. This isn’t just a tiny inconvenience; it can cause ongoing frustration and lead to more costly repairs down the line. But don’t worry, once you get the surface prep right and select the appropriate materials, your walls can stand up to cleaning without flaking or rubbing off.
Now that you understand why this is happening, it’s time to dive into the practical steps you can take to fix the problem at its root. Let’s start by understanding the most common mistakes homeowners make and how to avoid them.
PrioritizeSurfacePreparation for Durability
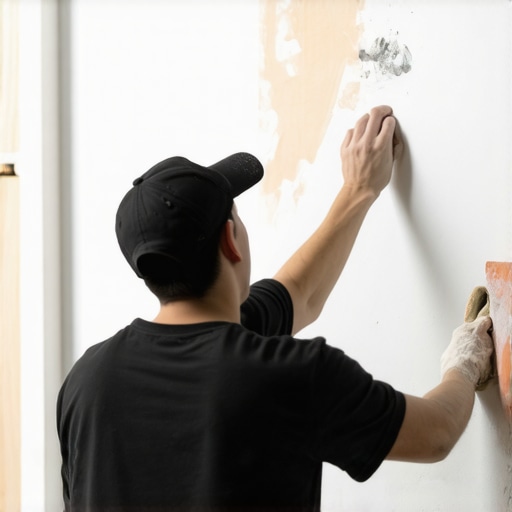
Start by thoroughly cleaning your walls with a mild detergent to remove dust, grease, or dirt that can inhibit paint adhesion. I once skipped this step and ended up with peeling paint after just a few washes—leaving me frustrated and regretting the rush. Use a sponge or soft brush to scrub, and rinse with clean water. Next, inspect the surface for cracks, holes, or peeling paint, and repair these with a high-quality filler. Sand all repaired areas smoothly to ensure a uniform surface. Think of it like prepping a canvas before painting: a clean, smooth surface makes all the difference in how the paint bonds and lasts.
Choose the Right Paint and Application Techniques
Opt for a high-quality, stain-resistant exterior or interior paint suitable for your environment. For instance, exterior paints with self-cooling pigments can help prolong the lifespan of your paint job, especially in hot climates – check this guide for options. When applying, always use a primer that’s compatible with your paint. Primers create a binding layer that helps the topcoat adhere better and provides an even base, especially on previously painted or raw surfaces. Apply paint in thin, even coats, avoiding thick layers that are prone to sagging or cracking, similar to building layers of a good sandwich—each layer needs to be solid before adding the next.
Adopt Proper Application and Drying Conditions
Timing is critical. Avoid painting in extreme weather—hot, humid, or windy days can cause poor drying and adhesion. I once tried to paint my porch during a humid afternoon, and the paint developed a tacky surface that never dried properly. Always follow the manufacturer’s recommended drying times between coats. When painting, use quality brushes or rollers—those cheap tools tend to shed or leave uneven coverage. For tricky spots, like corners or edges, use a high-quality angled brush to create precise lines. These meticulous steps mimic carefully assembling a piece of furniture—attention to detail ensures longevity and a professional look.
Final Tips to Seal and Protect Your Work
Once your final coat has dried completely, consider applying a clear sealant if the surface is exposed to frequent cleaning or harsh conditions. Such a finish acts like a protective barrier, preventing peeling and maintaining vibrancy. Also, avoid aggressive cleaning methods—use a damp cloth and gentle detergents, not abrasive scrubbers. Think of your walls as delicate skin—gentle care extends their life. For larger projects, scheduling a touch-up or reevaluation after a few months can catch early signs of wear, much like getting regular check-ups to maintain good health.
By following these clear, actionable steps—surface prep, proper material choice, careful application, and protective finishes—you’ll create a paint job that not only looks great initially but endures through cleaning, weather, and time. Remember, patience and precision are your best allies in achieving lasting results.
 Many homeowners believe that applying multiple coats of cheap paint will deliver lasting results, but in my experience, quality primers and understanding the specific underlying issues are far more effective. For instance, using one-coat paints might seem like a time-saver, yet studies show they often require additional coats on dark or uneven surfaces to achieve durability and true color richness, as highlighted in this article. A common mistake is assuming that brighter or darker colors hide imperfections or coverage issues, but in reality, they can amplify surface flaws if not properly prepared. It’s essential to recognize that the underlying surface, prep work, and paint formulation collectively influence the longevity and finish quality of your paint job. Many overlook that even non-toxic, eco-friendly paints require meticulous surface cleaning and priming; otherwise, adhesion problems occur, leading to peeling and uneven wear. Advanced painters often warn against rushing the process or relying solely on manufacturer’s claims, emphasizing the importance of proper inspection and tailored solutions for each project. Additionally, many fall prey to the myth that all paints are equally durable, ignoring factors like VOC content, binder quality, and pigment stability that impact performance in different environments. For example, exterior paints with self-cooling pigments, discussed in this resource, demonstrate how advanced formulations can significantly extend the lifespan of your paint, especially in hot climates. Avoid the trap of underestimating surface conditions like moisture, uneven texture, or previous coatings—these can make or break the final result. My advice is to always invest time in proper surface evaluation and consult with professionals when in doubt. Remember, good paint work isn’t just about the color; it’s about mastering the nuanced details that ensure a lasting, beautiful finish. Have you ever fallen into this trap? Let me know in the comments.
How do I maintain a high-quality painting setup for long-term results?
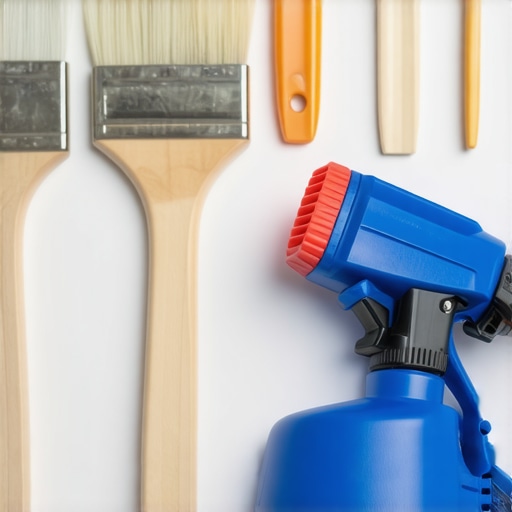
Investing in the right tools can dramatically improve both the quality and durability of your house painting projects. I personally prefer using a high-grade, variable-speed paint sprayer like the Wagner Control Pro series. Unlike traditional rollers or brushes, these sprayers offer an even application, reducing the risk of streaks or uneven coverage, especially on textured surfaces or large areas. They are also much faster, which means less fatigue and a more consistent finish.
For smaller touch-ups or detailed work, I rely on premium angled brushes with synthetic bristles, such as Purdy’s angled sash brushes. The sharp edges and fine bristles help me achieve clean lines around trim and corners without snags or missed spots. I’ve found that these brushes last longer and keep their shape better than cheaper brands, saving me money over time.
When it comes to surface preparation, I swear by a high-powered handheld drywall sander fitted with a HEPA vacuum attachment. This combination allows me to quickly smooth out imperfections while minimizing dust — crucial for maintaining surface integrity and ensuring adhesion. Proper sanding eliminates tiny flaws that can lead to peeling or chipping down the line, a tip I learned from professional painters documented in this article.
Additionally, I use a dual-temperature, digital paint thermometer to verify ambient conditions before starting each project. Paints perform best within specific temperature ranges, typically between 50°F and 85°F. Applying paint in conditions outside this range can cause improper curing, leading to issues like cracking or peeling within months. By monitoring temperature and humidity with a reliable combo device, I ensure ideal conditions for application, aligning with industry standards for lasting results.
Software-wise, I recommend using project management tools like Trello or Asana to keep track of preparation steps, drying times, and touch-up schedules. Staying organized prevents overlooked details that could compromise the integrity of your finish, especially when managing multiple rooms or exterior projects. As these tools evolve, they incorporate reminder alerts and workflow checklists that save time and reduce mistakes, which is vital for scalable home improvement projects.
Looking ahead, I believe our painting toolkit will continue to evolve with smart technology—think IoT sensors that monitor surface conditions, or augmented reality apps for precision application. Early adopters who integrate these innovations now will find their results not only easier to maintain but also more resilient over time.
Where can I find reliable tools that stick with me long-term?
For consistent, long-lasting results, I recommend investing in quality brushes, sprayers, and surface prep equipment. Don’t fall for cheap shortcuts—durable tools reduce frustration and improve outcomes. Try upgrading your roller covers to microfiber options, which hold more paint and leave fewer lint particles. Also, consider a professional-grade spray gun if your projects involve large exterior surfaces or high-coverage needs. These investments pay off by minimizing rework and ensuring your paint adheres properly over years of exposure and cleaning.
Remember, maintaining your tools properly is just as crucial. Clean brushes and sprayers immediately after use, store them properly, and periodically inspect for wear. Such habits preserve tool efficacy and prevent costly replacements, allowing your painting efforts to last longer and stay true to their initial appearance.
By integrating these specialized tools and methods into your routine, you set yourself apart from average homeowners. As I mentioned earlier, continuous improvement and learning are key — so don’t hesitate to try one advanced tip today. For example, use a dual-temperature digital thermometer before your next exterior job, and see how much it improves your finish’s longevity.
< >
>
What I Learned the Hard Way About Painting Secrets
One of the most valuable lessons I discovered was that surface prep is king—neglecting the details can turn a beautiful paint job into a peeling nightmare, even with premium materials. I used to rush the cleaning and sanding steps, thinking they were just tedious chores, but now I see they’re the foundation for durability. Wetting my tools with a good conditioner before painting has also helped my coats resist rubbing off during cleaning.
Tools and Tips That Make a Difference
Choosing the right brushes and sprayers is more critical than most realize. I trust high-quality angled brushes for clean edges and a professional-grade sprayer for large walls. Also, a digital thermometer helps me pick the perfect painting conditions, preventing issues like cracking caused by temperature swings. These tools have saved me countless touch-ups and rework, keeping my walls looking fresh for years.
Empowering Your Painting Journey
I encourage you to view each project as a learning opportunity, especially when facing setbacks. The secret isn’t just about picking the best paint but understanding how to prepare, choose, and apply it properly. With patience and attention to detail, you can transform your home and enjoy the satisfaction of a job well done. Remember, the extra effort now will pay off by saving you time, money, and frustration down the line.
Curated Resources to Elevate Your Skills
- Professional-grade tools: Investing in a quality sprayer and brushes like those recommended in this guide ensures smoother application and longer-lasting results.
- Expert knowledge: Books such as this resource provide deep insights into paint chemistry and application techniques that can elevate your projects.
- Industry tips: Following trusted blogs and industry reports helps you stay ahead of advancements, like self-cooling pigments that can extend your home’s comfort and reduce energy costs, detailed here.
Your Next Step in Mastering House Painting
Now is the time to embrace the nuances of house painting that make a real difference. Whether you’re tackling a small room or an entire exterior, applying the right techniques and tools empowers you to achieve professional-looking, durable results. Don’t let small mistakes undermine your efforts—your walls can withstand everyday cleaning and weather if you pay attention to these insider secrets. Ready to get started? Share your biggest painting challenge below, and let’s troubleshoot together!