

I’ll never forget the morning I noticed a crack snaking along my home’s exterior, right next to the new paint job I had just finished. My hands clenched the paintbrush a little tighter, frustration mounting. Such a small detail—yet it felt like a personal failure. The more I looked, the more I realized this was a common story among homeowners and DIY enthusiasts alike.
Why Your Exterior Caulk Is Cracking So Soon
This recurring problem got me digging deeper. What was I missing? Was it the type of caulk I used, the weather, or maybe just my inexperience? After some research and trial-and-error, I learned a crucial truth: proper caulking is an art and science, and skipping key steps can lead to premature cracking.
Is Caulk Cracking Actually Worth the Hype?
Honestly, I used to think that all caulk was created equal, and that applying a single bead closest to the door would suffice. Big mistake. Early on, I wrongly assumed that buying the cheapest caulk on the shelf would do the trick. But as my cracks multiplied, I realized this wasn’t just cosmetic—these cracks could allow moisture infiltration, leading to bigger problems like wood rot or mold. According to experts, even the best paints won’t stick properly if the underlying caulk is failing. Making this mistake cost me time, money, and a frustrating repaint cycle.
If you’ve experienced similar issues or are curious about avoiding them, you’re not alone. Many homeowners face this challenge without understanding the subtle factors at play. Lucky for us, there’s a way to extend the life of your exterior paint and prevent cracking before it even happens. But first, let’s uncover what really causes caulk to crack prematurely and how to fix it once and for all.
Prepare the Surface Properly
Start by cleaning the area thoroughly with a mixture of water and mild detergent to remove dirt, mold, and loose paint. Use a stiff brush to scrub the surface, then rinse with clean water and let it dry completely. Next, inspect for any old, cracked, or peeling caulk; remove it using a putty knife or a caulk remover tool. This ensures you have a clean, sound base before applying new caulk, preventing future cracks. Remember, a dirty or uneven surface can cause the new caulk to fail prematurely.
Choose the Right Caulk for Exterior Use
Select a high-quality, paintable, 100% silicone or acrylic latex caulk formulated for exterior applications. These types offer better flexibility and adhesion, accommodating weather-induced movements that cause cracking. I once applied a standard household latex caulk on my siding, thinking it would do the trick. Within six months, cracks appeared again. Switching to a premium caulk made all the difference. For detailed tips on selecting the best product, check out this guide on choosing durable caulk.
Apply the Caulk with Precision and Care
Before application, cut the tip of the caulk tube at a 45-degree angle, creating a consistent bead size—about the width of a pencil. Load it into a caulking gun, and squeeze steadily, guiding along the joint. Hold the gun at a 45-degree angle for smooth, even lines. Use a damp finger or caulk smoothing tool to press the bead into the joint, removing excess and ensuring a tight seal. I once used a makeshift spatula instead of a proper tool, which resulted in uneven application and quick cracking. For expert techniques, consider these tricks: how to get perfect caulk lines.
Allow Proper Curing and Seal It?
After applying, let the caulk cure as per the manufacturer’s instructions—usually 24 hours. During this period, avoid exposing the area to rain, heavy dew, or temperature fluctuations. Once cured, paint over the caulk with a high-quality exterior paint that matches your siding. Applying paint too soon or using low-quality paint can cause tension, leading to cracks. For best results, consider following these paint application tips: how to paint exterior trims correctly.
Routine Maintenance for Longevity
Periodic inspection of your exterior caulk joints, especially after severe weather, can help catch early signs of cracking. Promptly reapply caulk to damaged areas before cracks widen or moisture seeps in. Maintaining a consistent painting schedule with high-quality products will dramatically extend the lifespan of your exterior finish. Remember, the key isn’t just in the initial application but in regular upkeep to adapt to natural movements and weathering.
When it comes to house painting, many homeowners and even seasoned painters often subscribe to certain myths that can hinder the quality and longevity of their projects. Let’s dig deeper into some of these misconceptions and uncover nuances that could save you time, money, and frustration.
Are All Paints Equal When Painting Local Homes? Think Again
Many believe that choosing any paint with the same finish will yield similar results. However, the truth is that the type of paint and its formulation play a crucial role. For instance, high-quality exterior paints with advanced binders offer better adhesion and durability, especially in harsher climates. Skimping on paint often leads to peeling, cracking, or fading faster than expected—an advanced mistake often overlooked by DIY enthusiasts.
Moving Beyond Basics: The Fine Print of Proper Surface Preparation
Surface prep is sometimes dismissed as a tedious step, but skipping it can cause severe issues down the line. For example, applying paint over dirty, oily, or loosely bonded surfaces will significantly reduce adhesion. An advanced mistake is neglecting subtle surface conditions like micro-cracks or residual moisture, which can cause blistering or peeling months after painting. Properly cleaning surfaces with solutions like vinegar can help remove residues and improve paint adherence, as discussed in this guide.
Common Trap: Underestimating Climate and Seasonal Timing
A widespread myth is that paint can be applied regardless of weather. The reality is that external conditions such as humidity, temperature fluctuations, and dew points have a profound impact. Applying paint during high humidity or low temperatures can lead to extended drying times and compromised film formation, which are advanced issues often unanticipated. Knowing when to paint is critical; consult local weather forecasts and follow manufacturer recommendations for optimal results.
Why The Expert Advice Matters
Professional painters understand these nuances through years of experience and are aware of the subtle factors influencing each project. For example, experts know that switching to a premium, flexible caulk can prevent cracks caused by seasonal expansion and contraction (learn more about selecting durable caulk here). They also utilize advanced techniques like precise corner edging with tools discussed in this article. Recognizing these nuanced details can mean the difference between a flawless finish and repeated repairs.
Have you ever fallen into this trap? Let me know in the comments.
Keeping Your Paint Job in Top Shape
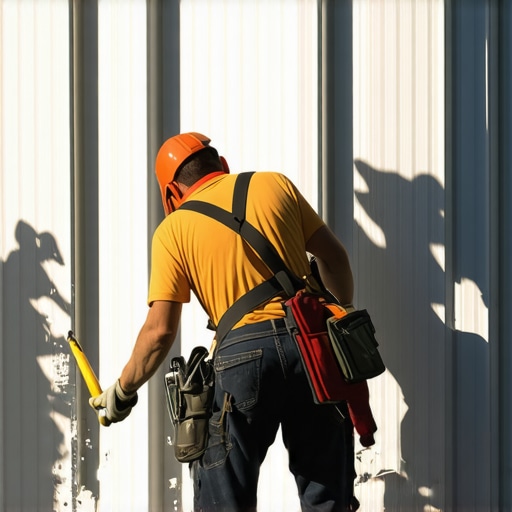
One of the most overlooked aspects of a successful interior or exterior paint project is ongoing maintenance. Regular upkeep extends the lifespan of your paint and prevents costly repairs down the line. To do this effectively, investing in quality tools and adopting smart maintenance routines are essential.
Invest in Quality Tools for Precision and Durability
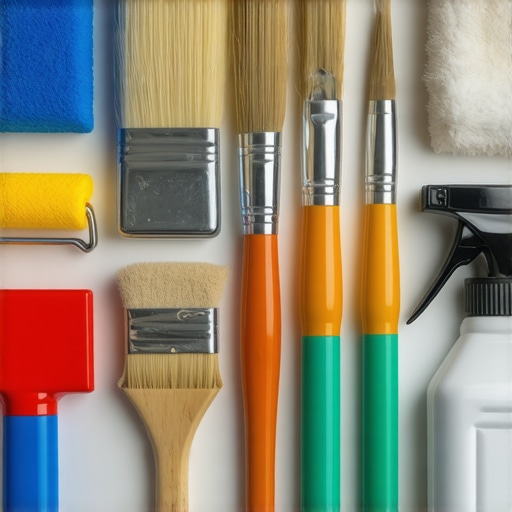
Starting with the right tools makes a significant difference. I personally swear by a high-grade angled brush with synthetic bristles for cutting in edges. Its precise control helps achieve sharp lines, reducing touch-up work later. For rolling large surfaces, I recommend a 10-inch roller frame with a magnetized handle. This setup allows quick cleaning of shed hairs and contaminants, ensuring smooth application over years.
Beyond brushes and rollers, investing in professional-grade extension poles can reach high or awkward places without ladders, decreasing the risk of accidents and uneven coating. A quality paint sprayer with adjustable pressure settings is perfect for large exterior surfaces, providing a uniform finish while saving time.
Schedule Routine Checks and Touch-Ups
Maintenance isn’t just about tools; it’s also about consistent inspection. After harsh weather events, especially storms or heavy snow, I inspect my exterior for chips or cracks within a week. Prompt touch-ups prevent moisture infiltration and deterioration. For interior walls, I check for peeling or discoloration every few years and reapply paint or primer where needed.
Using tools like a bright LED flashlight to highlight surface imperfections can reveal issues invisible to the naked eye. Addressing problems early is far more cost-effective than waiting until they worsen.
Monitor Long-Term Results and Scale Up
As your painting skills and tools improve, consider scaling your projects with advanced techniques. For instance, mastering the secret to sharp paint lines on textured walls can elevate your home’s aesthetic. Upgrading your equipment, like switching to a high-volume low-pressure (HVLP) sprayer, can dramatically improve finish quality and speed, especially on large exterior surfaces.
Looking ahead, I predict that integrating smart sensors to monitor surface condition and moisture levels will become standard. These devices can alert homeowners before minor issues escalate, making proactive maintenance easier and more reliable.
How do I keep my house’s paintwork looking flawless over time?
The key is consistent inspection, quick repairs, and using top-tier tools designed for durability. For example, applying specialized primer and paint combinations based on the surface type will give your project extra longevity. Don’t forget to adopt a regular cleaning routine, using gentle detergents and soft scrubbers to keep surfaces pristine. By investing in quality tools and making maintenance an ongoing habit, your paint can stay vibrant and intact for years to come.
Start by testing your current setup with a simple maintenance check using the flashlight trick. Improving small details now will pay off significantly over time. Remember, a well-maintained house isn’t just about aesthetics—it’s about protecting your investment in your home’s beauty and integrity.
Lessons That Changed My Approach to Painting
- Patience Pays Off: Rushing the prep or drying process often led to cracks. Real progress came when I dedicated extra time to surface preparation and curing.
- Choosing Quality Over Cost: Investing in high-quality caulk and paints resulted in fewer touch-ups and longer-lasting finishes, saving me money and frustration over time.
- Weather Really Matters: Ignoring seasonal and daily weather patterns caused paint failures. Now, I always check forecasts and wait for optimal conditions.
- Tools Make the Difference: Using the right brushes, rollers, and sprayers improved application quality and reduced errors, especially along edges and textured surfaces.
- Maintenance is Ongoing: Regular inspections and prompt touch-ups extend the life of my paint job, preventing small issues from becoming costly repairs.
Tools and Resources That Elevated My Painting Game
- Vinegar trick for brush care: Extends the usability of brushes and saves money in the long run.
- Straight-line painting techniques: Perfect for achieving professional-looking edges without tape.
- Understanding paint formulations: Helps in selecting the right paint for durability and aesthetic appeal.
- Surface integrity checks: Ensures prep work is up to par before painting, avoiding future cracks and peeling.
Now It’s Your Turn to Make a Difference
Embarking on your own exterior painting journey can be rewarding with the right knowledge and attitude. Remember, each step—from surface prep to choosing the right caulk and maintaining your finish—matters immensely. Embrace patience, quality, and routine checks to ensure your paint not only looks good but also withstands the test of time. The more you educate yourself on these nuances, the more confident and successful your projects will become.
What’s the biggest lesson you’ve learned from your past painting experiences? Share your insights below—I’d love to hear your stories and tips!
About the Author
Aqil Ahmad
Leading Elite World Travel and Tourism L.L.C with ...
Aqil Ahmad is a seasoned professional with a distinguished background in high-level service management and operational leadership. As a key contributor to elitepainterpro.com, he brings a wealth of experience from his tenure leading Elite World Travel and Tourism L.L.C, where he cultivated a deep understanding of hospitality and premium service standards. His career is marked by a commitment to excellence, having spearheaded major initiatives across international markets, including the USA. This global perspective allows Aqil to provide unique insights into the professional painting industry, focusing on quality control, client satisfaction, and the meticulous attention to detail required for elite-level home transformations. With a proven track record in managing complex operations and delivering superior results, Aqil serves as an authoritative voice for homeowners and professionals seeking to elevate their property's aesthetic and value. He leverages his hospitality expertise to ensure that every project discussed on elitepainterpro.com meets the highest benchmarks of professionalism. Aqil is deeply passionate about helping others achieve their vision through expert guidance and high-quality craftsmanship.