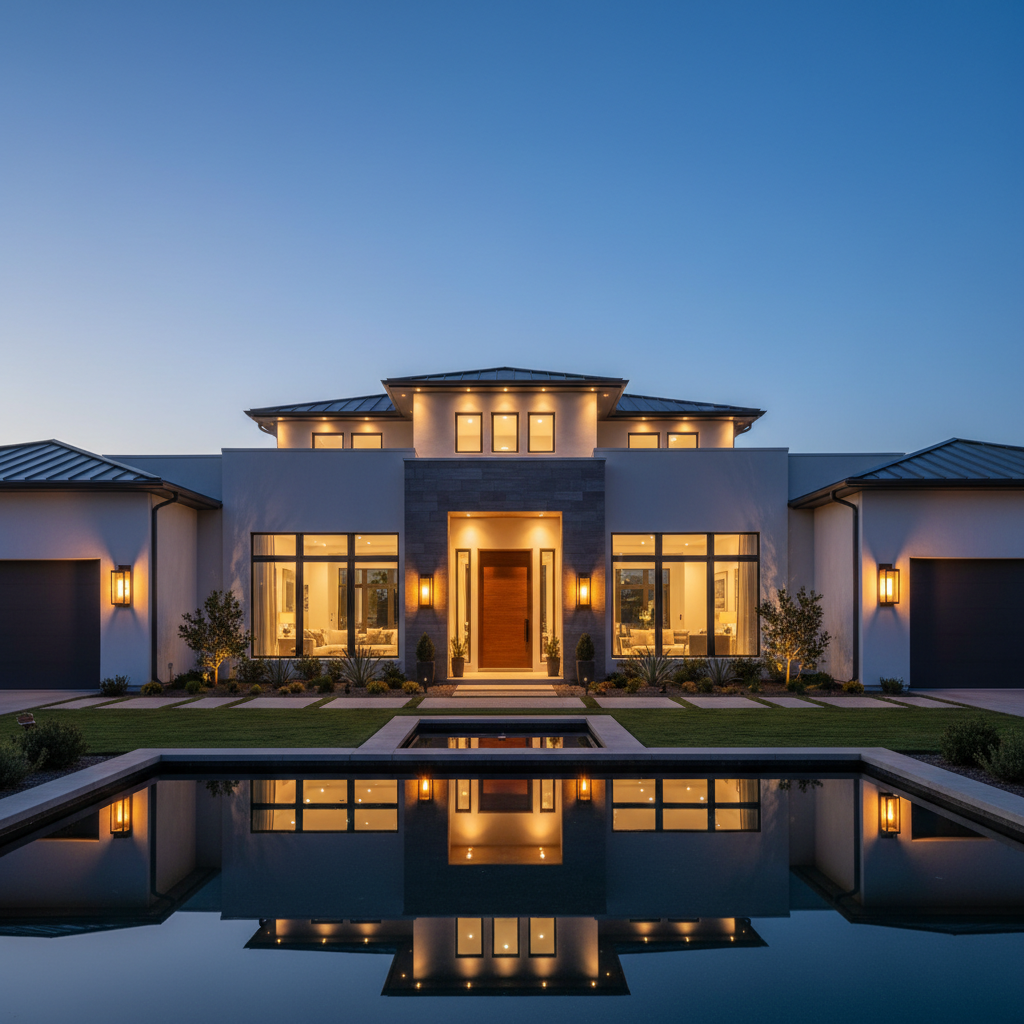
Corporate-Grade Property Painting For Brentwood Estates
Corporate-grade reliability for premium property transformations.
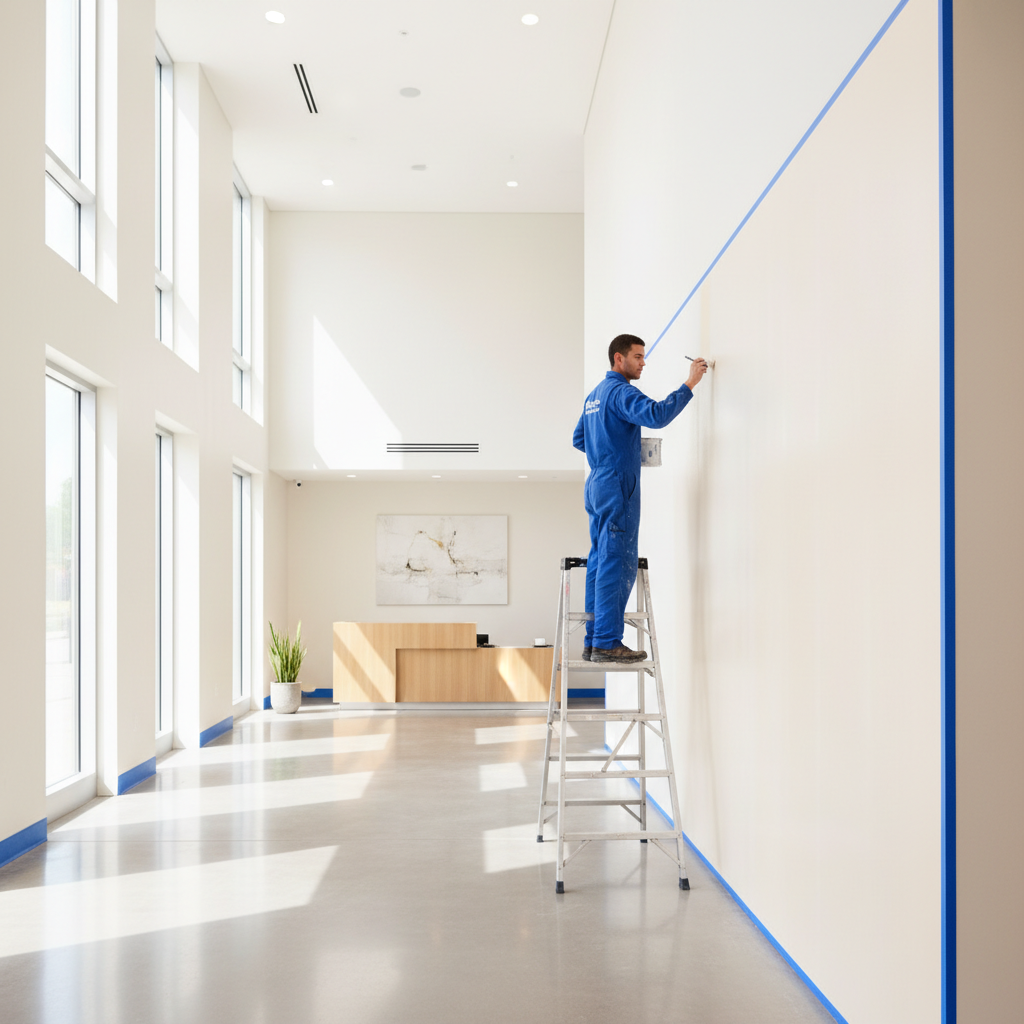
We replace contractor chaos with data-backed timelines and daily progress reports. Our project managers oversee every phase of your interior and exterior painting, guaranteeing completion dates down to the exact hour.
The Elite Painter Pro Accountability Framework
1
Conduct The Site Audit
Our project managers evaluate your Brentwood property using a 47-point substrate inspection. You receive a fixed-price proposal detailing exact surface preparation requirements and material specifications.
2
Execute With Daily Reporting
Your dedicated site supervisor manages the crew, enforcing strict containment protocols to protect your furnishings. You receive a daily end-of-shift log detailing square footage completed and the next day’s schedule.
3
Complete The Final Walkthrough
We inspect the cured finish against our quality matrix under high-lumen lighting. We hand over the space only when the mil thickness and color uniformity meet our exact contractual standards.
144+
Brentwood Estates Completed
We have managed premium painting projects across the Governors Club and Annandale neighborhoods.
100%
On-Time Completion Rate
Every contract includes a guaranteed finish date backed by financial penalties if we miss it.
0
Unplanned Change Orders
Our initial site audit catches substrate issues before they become expensive surprises.
Verified Production Data From Local Sites

Historic Estate, Central Brentwood
Before: Peeling exterior lead paint and rotting fascia boards threatened the structural integrity of a 1920s property.
After: Safely abated 3,200 square feet of lead paint and applied a 15-year elastomeric coating system.
⏱ 14 days
Custom Build, Nashville
Before: The general contractor required Level 5 drywall finishing and custom cabinet enameling on a strict deadline.
After: Delivered flawless spray-applied finishes on 45 cabinet doors and 6,000 square feet of wall space.
⏱ 21 days
Luxury Townhome, Brentwood
Before: Previous contractors left visible roller marks and improper flashing on a two-story foyer.
After: Skim-coated the entire 400-square-foot surface and applied a dead-flat finish that eliminates glancing light issues.
⏱ 5 days
Bringing Logistics Precision To The Painting Industry
I spent years directing logistics and client experiences at Leading Elite World Travel and Tourism L.L.C, where a single missed detail meant a ruined itinerary. When I relocated to Brentwood and needed contractors for my own property, the lack of accountability shocked me. Crews showed up late, timelines shifted without warning, and final invoices rarely matched the initial estimates.
I realized the painting industry did not need better brushes; it needed corporate-level project management. I founded Elite Painter Pro to bring strict operational oversight to residential and commercial painting in Brentwood and Nashville. We treat a property upgrade with the same precision as a complex international logistics operation.
We focus exclusively on the Brentwood area because high-value properties require intense, localized supervision. Our site managers do not bounce between six different zip codes. They stay on your street, monitoring mil thickness, enforcing dust containment protocols, and ensuring the crew adheres to the daily production schedule.
You do not have to chase us for updates. We send daily progress reports to your inbox, detailing exactly what we prepped, primed, and painted. When we quote a 12-day timeline and a specific price for your exterior restoration, those numbers are guaranteed by contract.
Frequently Asked Questions
Do you provide daily updates on the painting progress?
Yes. Your dedicated project manager sends an end-of-day report detailing the exact square footage completed, any substrate issues discovered, and the schedule for the following morning. You never have to guess what is happening on your property.
How do you handle hidden damage like wood rot?
Our initial 47-point site audit identifies 95 percent of substrate issues before we draft your proposal. If we uncover hidden rot during the scraping phase, we pause work, document the damage with photos, and provide a fixed-price repair addendum before proceeding.
Do you spray or roll interior walls?
The application method depends entirely on the surface and the specified finish. We spray custom cabinetry and trim to achieve a factory-smooth enamel finish, while we back-roll broad wall areas to ensure proper adhesion and a uniform stipple.
Do you guarantee your completion dates?
Absolutely. Every contract includes a hard completion date based on our production rate data. If weather or material delays threaten the timeline, we adjust our crew size to ensure we hit the contractual deadline.
Stop Managing Your Painters
Secure a fixed-price proposal and a guaranteed timeline for your Brentwood property.
Written & Reviewed By
Aqil Ahmad
Leading Elite World Travel and Tourism L.L.C with …
Aqil Ahmad is a seasoned professional with a distinguished background in high-level service management and operational leadership. As a key contributor to elitepainterpro.com, he brings a wealth of experience from his tenure leading Elite World Travel and Tourism L.L.C, where he cultivated a deep understanding of hospitality and premium service standards. His career is marked by a commitment to excellence, having spearheaded major initiatives across international markets, including the USA. This global perspective allows Aqil to provide unique insights into the professional painting industry, focusing on quality control, client satisfaction, and the meticulous attention to detail required for elite-level home transformations. With a proven track record in managing complex operations and delivering superior results, Aqil serves as an authoritative voice for homeowners and professionals seeking to elevate their property’s aesthetic and value. He leverages his hospitality expertise to ensure that every project discussed on elitepainterpro.com meets the highest benchmarks of professionalism. Aqil is deeply passionate about helping others achieve their vision through expert guidance and high-quality craftsmanship.
Latest from Our Blog

Why You Should Never Paint Over Old Masonry Without a Breathable Coating
I remember the moment clearly. I was standing in front of a weathered brick wall, paint peeling and cracks spreading…
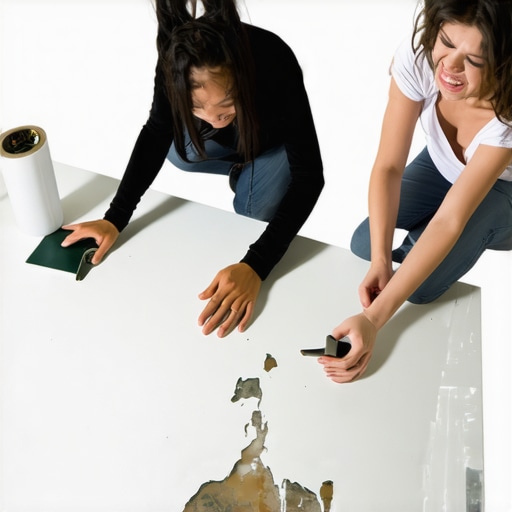
Why Cheap Masking Tape Is Actually Costing You More Money
I remember the first time I bought a pack of cheap masking tape for a simple home painting project —…

The Secret to Painting Behind Radiators Without Moving Them
It was a morning just like any other, but as I grabbed my brush and stepped into the room, I…